Select or right-click any icon in any
toolbar then select Customize....

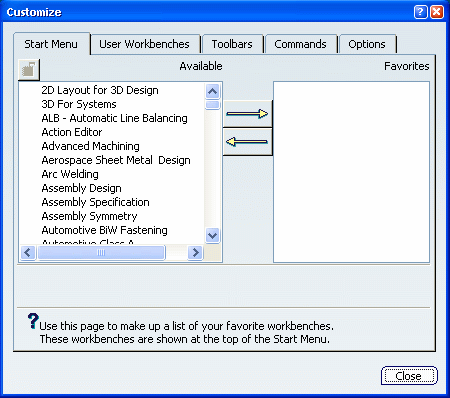
In the Customize
dialog box, click the Commands tab to
list the commands available.
The Categories list allows you to filter
the listed commands by category: the category is the name of the
menu in the menu bar.
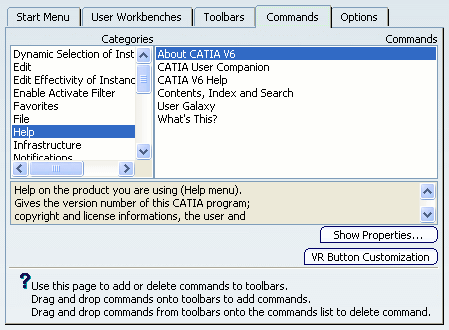
For example, selecting the Help
category in the Categories list displays in the commands
list all the commands likely to appear on the Help menu:

The category All Commands lists all
commands available for the workshop you are working in as well as
global commands (e.g. Open, Save, etc.).
If
you created macros, the macro names are also listed. You can then
add macros to a toolbar.
Select a category then a command from the list.
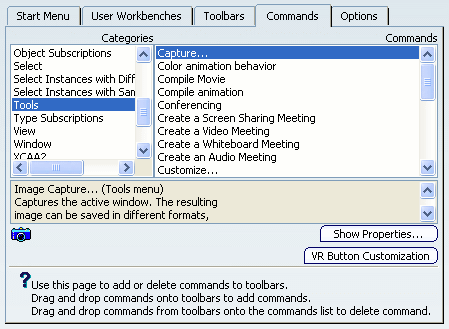
In our example, Tools then Capture...
have been selected:

Note:
The command icon is displayed at the bottom of the dialog
box, along with a short help message explaining the role of the
icon.
Drag the command from the list to the toolbar to
which you want to add the command.
Drop the command onto the desired toolbar.
In our example, the icon
for the Image Capture... command has been added to the
Standard toolbar:

Optional: To delete a command from a toolbar using the
drag-and-drop mechanism, drag the command and drop it back inside the
list of commands in the Customize dialog box.
You can also drag and drop commands which do not
have icons: in this case, the command name appears in the toolbar.
Your customization is stored automatically in the
FrameConfig.CATSettings file: you recover it if you exit then
restart. For more information, see
About Settings.