Capturing Simple Images | |||||
|
| ||||
Capture the Full Screen
The Full screen mode is the default capture mode.
Access the Output Preferences tab:
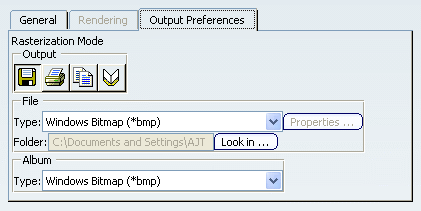
The file types available when saving to a file and in the Album vary according to the mode you selected, i.e. Rasterization or Wireframe. The capture above shows the output options available in Rasterization mode.
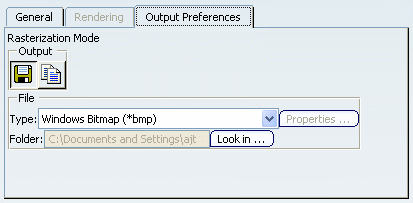
Note: In 3DLive, the Output Preferences tab is a little different:
Select the format in which the image will be saved in the Album.
Warning: Captured images saved in the album are always saved in CGM format. The properties you define here have no impact on the format of the image stored in the album. These properties will be applied to the format you select when using the Save As  button.
 Click Capture
 .
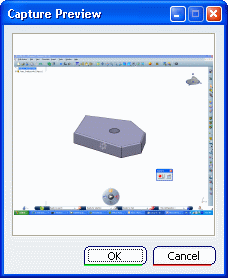
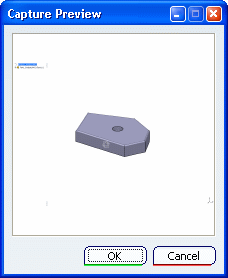
.The whole screen is captured:
 .
. button.
![]()
Capture the Full Window
The Full window mode lets you capture the whole V6 application window.
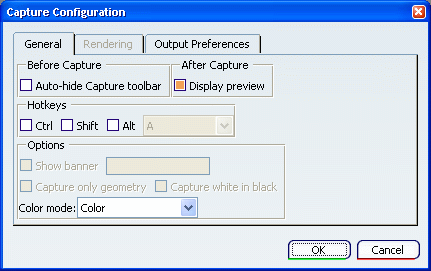
In the Capture Configuration dialog box, define the general configuration options of your choice:

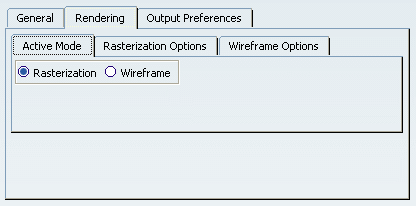
If you are capturing images in Rasterization mode, access the Rasterization Options tab otherwise, jump to the Wireframe step:
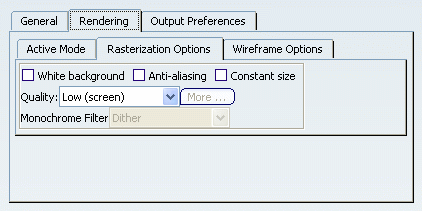
Optional: Select Customized in the Quality list then click More... to access the Image Size dialog box:
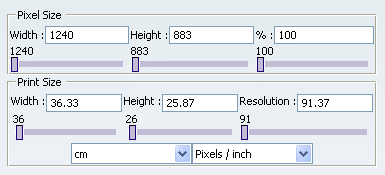
The values indicated in the Pixel Size area are displayed for information only to give you an idea of the image size in pixels, according to the print size you defined.
If you are capturing images in Wireframe mode, click the Wireframe Options tab to define the semantic level and the capture size:
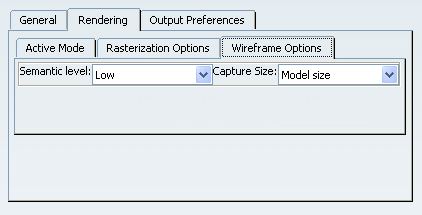
In Vector mode, the size in mm of the generated 2D image depends on the size you select in the Capture Size list.
Click Capture
.The whole V6 application window is captured:
 .
.