Reusing a Part Design Pattern | |||||||
|
| ||||||
Click Assembly Pattern
 .
.
The Assembly Pattern dialog box appears.

- Click
 opens the Object Selection dialog box in order to access component in database.
 - Reuse selected instance option allows you to reuse the selected component in the Assembly Pattern.
Important: Reuse the selected component means that this component will be kept at its current location if it is correctly constrained.
- Keep link option allows you to keep associativity between components and the Part Design pattern or geometrical set.
- Click
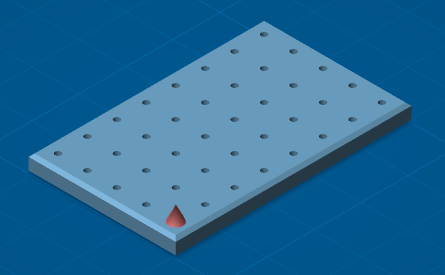
Select the component to instantiate.
Select the Part Design pattern.
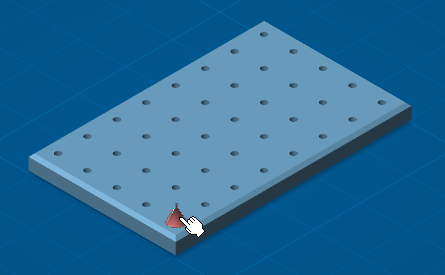
Click OK in the Assembly Pattern dialog box.
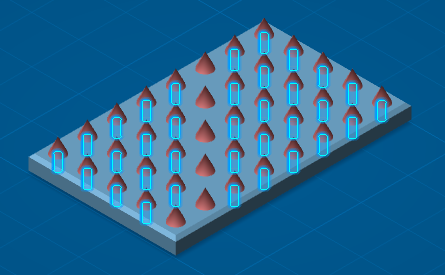
The Assembly Pattern is created.
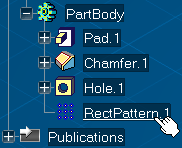
- Created pattern items, from the selected instance, appear in the specification tree.
- Assembly Pattern feature appears in the specification tree.
Click Update All
 .
.Double-click the representation containing the Part Design pattern in order to switch in Part Design workbench.
Note:
- You will go in the last activated representation workbench, if this one is not Part Design, select it from the Start
 button.
 - You can also double-click any feature in a representation in order to change to a representation workbench.
- You will go in the last activated representation workbench, if this one is not Part Design, select it from the Start
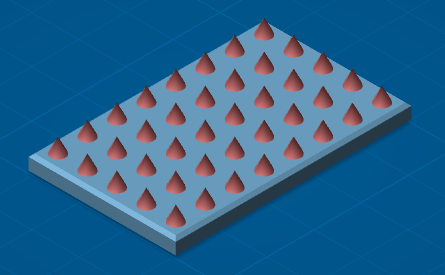
Double-click the Part Design pattern in order to edit it.
The Rectangular Pattern Definition dialog box appears.
The pattern is in edition.

Click some pattern items in order to deactivate them.

Click OK in the Rectangular Pattern Definition dialog.
Click Update All
.The Update Report dialog box appears.
Click Edit definition of the selected object
 .
.The Update Report dialog box disappears, and the Assembly Pattern dialog box appears: the Generated Instances tab is selected.
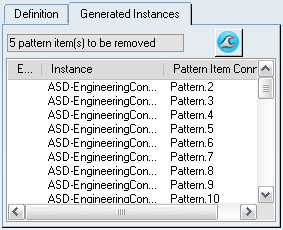
A message indicates that five pattern items have to be removed, the five items correspond to the five deactivated items in the rectangular pattern.
Note:
- The message is customized according to the context: add item, remove item, etc.
- A contextual menu is available on each instance of the list to help to locate any instance: Center Graph and Reframe On.
Click Repair
 .
.The assembly pattern is updated.
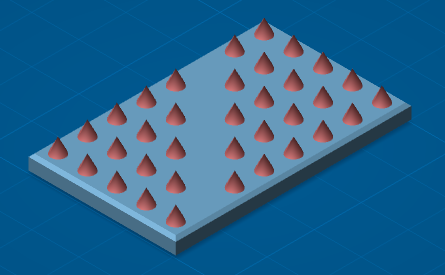
Useless pattern items have been removed from the specification tree and from the Generated Instances tab.
Click Update All
.