Defining Reflection Settings | |||||
|
| ||||
Select xxx_Rendering object > Definition The Rendering Properties dialog box is displayed:
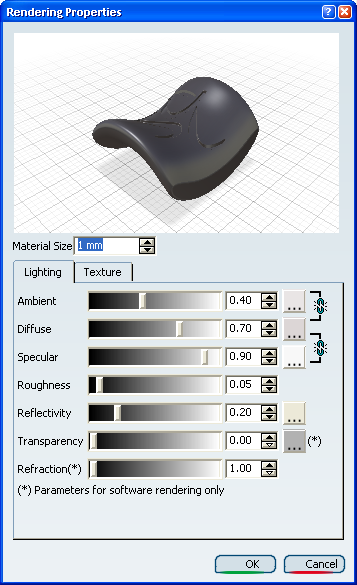
Important: Refer to Accessing Material Properties for detailed information on the various methods you can use to access material properties. Click
 beside the Reflectivity box to open the Advanced Reflection
Settings dialog box:
beside the Reflectivity box to open the Advanced Reflection
Settings dialog box: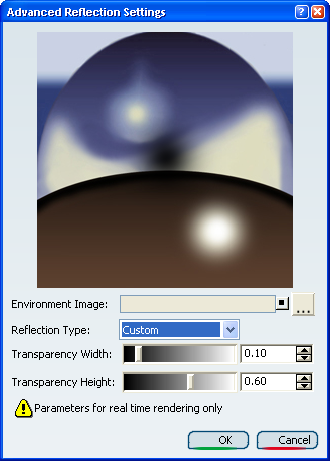
This image is used for reflection purposes only, you cannot visualize the environment reflections on the object unless you set the Reflectivity parameter to a non-zero value (provided that the object itself is reflecting).
Click
to navigate to the desired file using the Image Chooser dialog
box. Important: The Reset Value  button lets you reset the environment image to the default image.
Click OK to validate and go back to the Advanced Reflection Settings dialog box.
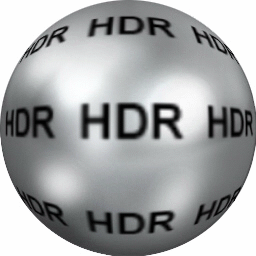
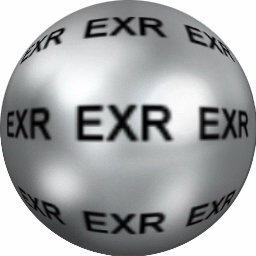
Important: - Environment images are also supported by PH1, though the Reflection Type parameters are not taken into account.
- *.hdr and *.exr images are only supported by pH1. For
realtime preview the following images are used instead:
Choose the environment Reflection Type: Chroma, Paint, Matte Metal, Bright Plastic or Custom.
Chroma Paint
Matte Metal Bright PlasticSelecting Custom activates the Transparency Width and Transparency Height boxes to let you specify the desired ratios (values comprised between 0 and 1) for the transparency filter.