More About Applying a 3D Chessboard Texture | ||||
|
| |||
The Color Area
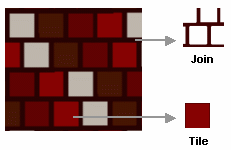
The Colors area lets you define tile and join colors :
|
 |
![]()
The Deformation Area
The Deformation area lets you define the Tile Width and Height, Join Width and Height, Offset options :
- Tile Width and Height: sets the width and height of the tile
- Join Width and Height: sets the width and height of the join. This parameter allows you to simulate a brick wall
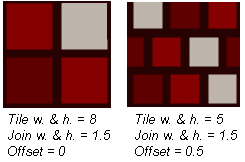
- Offset: translates the join lines horizontally. You can enter values comprised between 0 and 0.5, "0" meaning that the join lines are in perfect adjustment. This parameter allows you to simulate a brick wall for instance.
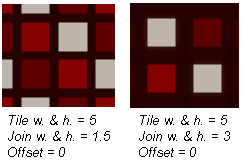
Samples of deformation with different tile, join and offset values
The following are samples of deformation with different tile, join and offset values:
 |
 |
![]()
The Bump Area
The Bump area lets you define an Amplitude value to add a lighting surface effect to the object.
You can use the slider or enter a coefficient value comprised between -10 and 10:
- 0 means no bump effect
- 10 means that bright colors appear above dark colors
- -10 means that dark colors appear above bright colors.
