More about Adjusting a Light Source Direction | ||||
|
| |||
Direction Dialog Box
The different options of this dialog box are:
Direction
The three spin boxes displayed in the Direction area let you define the position of the direction vector along the X, Y and Z directions.
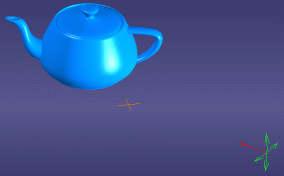
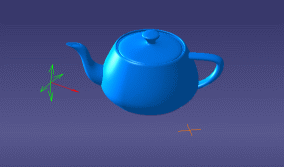
The direction vector represents the privileged direction of illumination of the source and is visualized by the red arrow whose origin is the light source origin. As soon as you modify a value, the light source is updated simultaneously in the geometry area.
Step-by-Step Rotation
The Step-by-Step Rotation area lets you define the rotation angle in degrees.
The default value is 10.00 but you can enter your own value if needed using the spin box. When the rotation angle has been defined, click the desired button to start rotating your light source around the corresponding axis by the angle you specified.
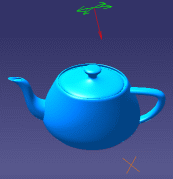
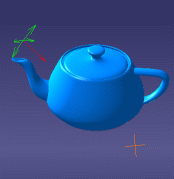
For instance, clicking X+ means that the light source is rotated by the specified angle positive (i.e. clockwise) around the X axis whereas clicking X- rotates the light source by the specified angle negative (i.e. anticlockwise) around the X axis:
| Starting position: X | New position: X- Rotation = 45 ° |
 |
 |
| Important: When using these buttons amounts to manipulating the light source directly in the geometry area by pressing the Ctrl key. |