Transferring a Piping Line | |||||
|
| ||||
Add Members to the Line ID
You can add members to the line ID by using the Transfer Line ID command. Select piping elements to be added in the graphic area or in the specification tree when the command is active.
Click Transfer Line ID
 in the Fluid Systems toolbar (Line IDs sub-toolbar).
Select the line ID in which you want to add members, in the specification tree or in the 2D representation.
The Line ID Transfer dialog box appears.
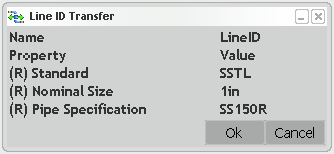
The Line ID Transfer dialog box lists the common attributes of the line ID, i.e. standard, pipe specification and nominal size.
Note: These attributes are non-editable in this dialog box.
All the elements belonging to the selected line ID are highlighted.
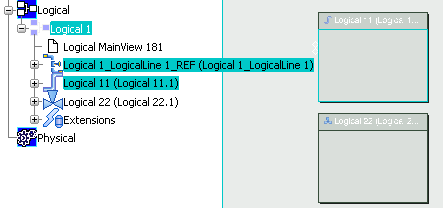
All the selected elements are added to the line ID.
You can check it using the Select Line ID  command. For more information, refer to Selecting/Querying a Piping Line.
![]()
Remove Existing Members from the Line ID
You can remove existing members of the line ID by using the Transfer Line ID command. Select piping elements to be removed in the graphic area or in the specification tree when the command is active.
Click Transfer Line ID
.
All the selected existing elements are removed from the line ID.
You can check it using the Select Line ID command. For more information, refer to Selecting/Querying a Piping Line.
![]()
Add Members to the Line ID by Selecting Members First
You can add members to the line ID by selecting members first. Then you can click the Transfer Line ID command and select the line ID.
All the selected elements are added to the line ID even if one or many objects belong to another line ID.
You can check it using the Select Line ID command. For more information, refer to Selecting/Querying a Piping Line.