Driving Fluid Design by Specification | ||||
|
| |||
Place a Specification Driven Part
You can place a part using a specification.
A specification is an attribute of a piping line, so you need to have the appropriate piping lines created. You need to open your piping system in RFLP.
Click Place Part
 in the Compass Toolbar.
Click Line ID Usage
 in the balloon.
 Click Part Selection
 in the balloon and
then Spec Driven.
in the balloon and
then Spec Driven.
![]()
Create a Specification Driven Pipe
You can create a specification driven pipe.
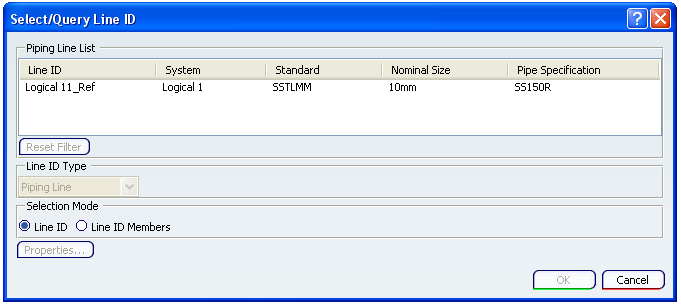
- Create a line ID.
- Select Tools > Options > Equipment > Fluid Discipline > Fluid Systems Detail Design > Piping and Tubing tab. Select the Force Usage of Line ID check box.
Click Rigid Route
 in the West compass.
The 3D Part / Product DS dialog box opens.
Enter details and click Finish.
The Select/Query Line ID dialog box opens.