Working with the Spreadsheet Editor | ||||
|
| |||
Open/Close the Spreadsheet
Select Spreadsheet Editor
 from the Spreadsheet toolbar.
The Spreadsheet Editor opens in the VPM Functional Logical Editor window, and the content of the active component is displayed.
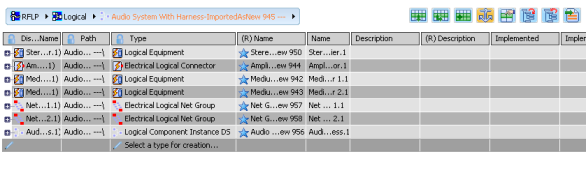
Important: The RFLP tree and the commands of the VPM Functional Logical Editor are still available. Tips: - The Hierarchical view is selected by default, and the components are organized as in the RFLP tree. If need be, you can select the Flattened view to display a model without showing the structure.
- You can open several spreadsheets. However, they display the same content.
![]()
Select / Activate an Object
To edit one or more sub-component of the active object, you can select/multi-select item(s) from the RFLP tree or from the spreadsheet.
![]()
Customize the Spreadsheet View
You can select a view mode and decide to expand or collapse the sub-components.
By default, the Hierarchical view is selected.
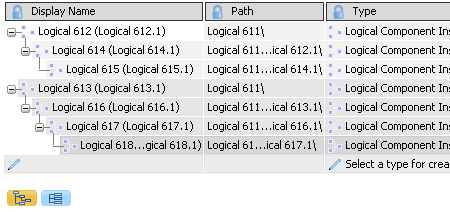
Select Collapse All Rows
 from the title area.
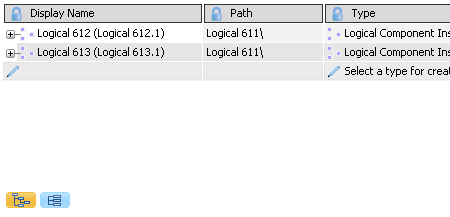
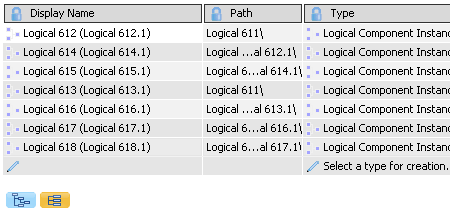
Select Flattened view
![]()
Filter Columns
You can filter the string, boolean, integer or double values in a column.
Two filtering modes are available:
- Basic filter: allows you to select/unselect the values to be displayed.
- Advanced filter: allows you to compare operators (example: to display only the values that are greater than "2.0").
Fly over a column with your cursor.
The Filter command appears.
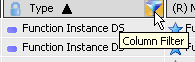
Select Filter.
By default, all the values contained in the column are listed and selected.
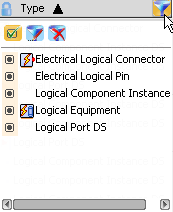
Deselect the values you do not want to display.
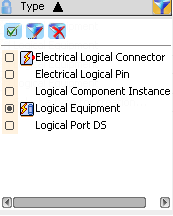
Click outside the filter window.
The filter window disappears and the filter is applied. Only the selected values are displayed.
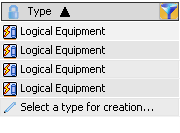
Important: The Filter command is now persistent in the column title. This indicates that this column does not display all its elements. Select Filter again.
All values are still listed.
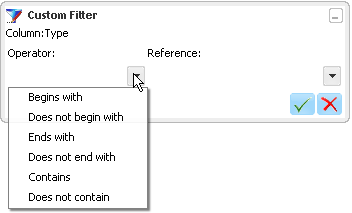
Select Custom Filter
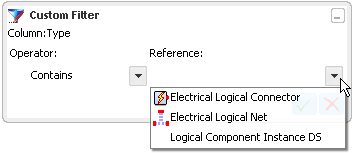
The Custom Filter dialog box appears, and lets you select a comparison operator from the drop-down list.
Select a Reference from the drop-down list.
![]()
Select the Columns to Display
You can select the columns to be displayed in the table. The selected columns will be visible whatever the operation performed (Expand/Collapse, Creation, modification...).
Right-click a column header.
The column chooser is displayed.
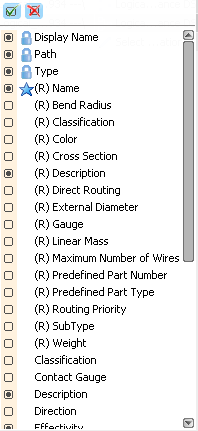
Click the columns you want to display then click anywhere in the interface.
The table is updated and displays the selected columns only.
Note:
 enables you to select all values.
 enables you to reset the default values.
![]()
Use the Navigation Bar
You can navigate an entire model using the navigation bar which displays the path of the active object. You do not have to use the specification tree.
Note:
- By default the specification tree is hidden in the spreadsheet editor. To display it, select View > Specifications.
Double-click the root system and click Spreadsheet Editor
.The Spreadsheet editor opens. The Navigation bar is displayed in the upper part of the interface.
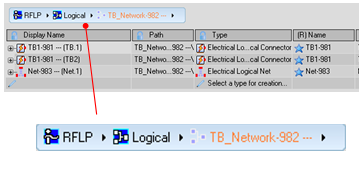
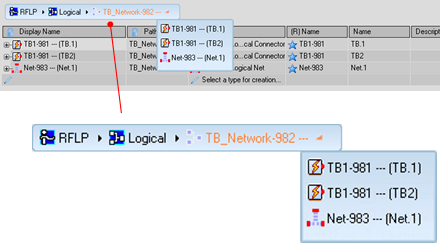
Note: The first bar shows the current active object. Click
 to select another object.
Click an arrow in the Navigation bar to display the children of the selected item.
Note: To make an object active, click it.