Creating and Modifying an Object | |||||
|
| ||||
Select a row to create an object displayed under this row.
Commands appear above the selected row:
- Insert New Row
 : to create a new empty row in the Spreadsheet Editor.
 - Insert New Child
 : to create a new sub-function or sub-component in the model.
 - Duplicate Row : to create a new instance of the selected reference, i.e. to duplicate the selected row.
Important: - If there is a PLM extension on the reference, the extension is also created on the new instance.
- A port cannot be duplicated.
- Insert New Row
Click New Row
from the contextual Balloon toolbar (or from the title area if the Anchor Balloon  mode is activated).
Tip: - You can create several rows, then multi-select them to define globally their properties. This allows you to create several identical objects.
- You can also use the empty line that is always visible at the end of the spreadsheet table.
A new line is inserted under the selected row.
Select the Type cell to expand the list and select a type for your new object.
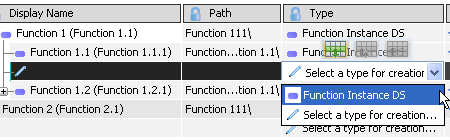
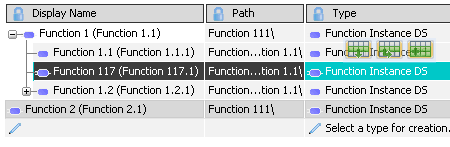
For the purpose of this scenario, select Function Instance DS.
The function is created.
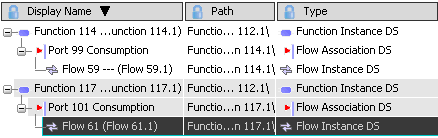
Important: For some object types, you must fulfill all the mandatory properties to complete the object creation. Define your flow as usual.
Your flow association is created. It appears both in the spreadsheet view and in the RFLP tree.