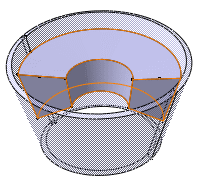
Creating Shafts | |||||
|
| ||||
The Shaft Definition dialog box appears.
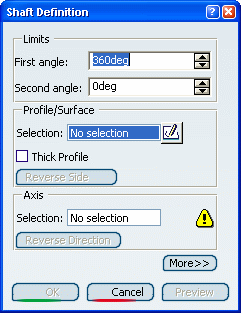
Select the profile you want to extrude.
In our example, the profile (highlighted) is open.
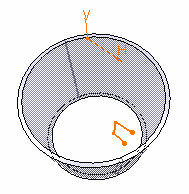
Warning: An open profile (not even closed by the revolution axis) cannot be be used as the first feature in a body. The application displays the name of the selected sketch in the Selection box from the Profile frame and previews the shaft.
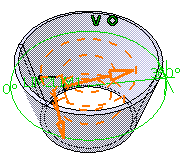
In our scenario, the profile and the axis belong to the same sketch. Consequently, you do not have to select the axis.The Reverse Side button lets you choose between creating material between the axis and the profile or between the profile and existing material. You can apply this option to open or closed profiles.
In our scenario, as our open profile cannot be trimmed if we use the default direction, that is in the direction of the axis, click Reverse Side or alternatively click the arrow pointing to 360 degrees so as to obtain this preview:
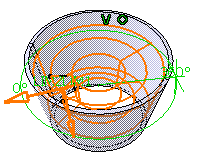
The extrusion will be done in the direction opposite to the axis and it will be trimmed to existing material.
Tip: There are three ways of reversing the revolution direction: - clicking the Reverse Direction button, or
- using the Reverse direction contextual command available on the arrow or
- just clicking the arrow.
The application previews limits, LIM1 that corresponds to the first angle value, and LIM2 that corresponds to the second angle value. The first angle value is by default 360 degrees.
Enter the values of your choice in the First angle and Second angle boxes. Make sure that the sum of the two angles is less than 360 degrees.
Tip: Alternatively, select the LIM1 or LIM2 manipulator and drag them onto the value of your choice. Click OK to confirm.
The shaft is created. The specification tree mentions that it has been created.
