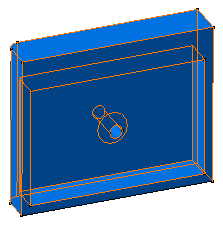
Select the face to be removed.
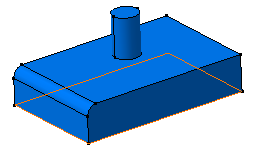
Click Shell
 in the Dress-Up Features toolbar.
The Shell Definition dialog box appears.
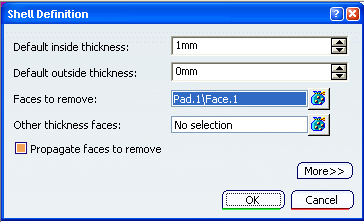
The selected face becomes purple.
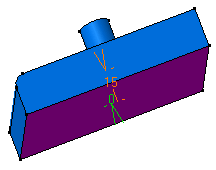
In the Default inside thickness box, enter 15 mm.
Click OK.
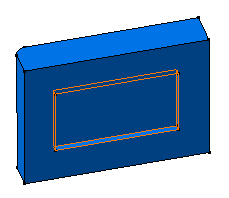
The feature is shelled: the selected face is left
open. This creation appears in the specification tree.
Double-click the shell to edit it.
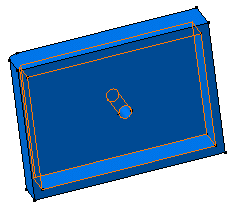
Decrease the inside thickness value. Enter 4mm.
Click OK.
The cylinder is now hollowed:
Double-click the shell again.
In the
Other thickness faces box, select the face as shown.
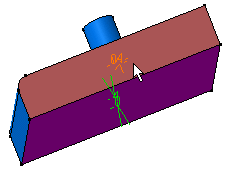
Double-click the thickness value displayed on this face.
In the dialog box that appears, enter 10mm.
Click OK to confirm and close the dialog
box.
Click More to access
the Deviation parameters.

Select the Smoothing mode among these three types:
-
None:
No smoothing is applied. This is the default option. The Max
deviation box is unavailable.
-
Manual:
Allows you to enter a maximum deviation. The default value is 0.1
mm.
-
Automatic:
Smoothing is applied automatically.
Click OK to create the shell feature.
The length between the selected face and the shell is 10mm.
