Click Chamfer
 .
.
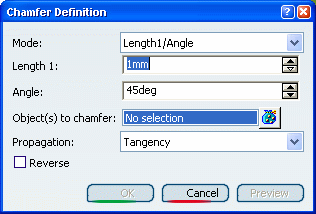
The Chamfer Definition dialog
box appears. The default parameters to be defined are Length1 and
Angle.
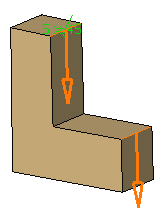
Select the edges to be chamfered.
Chamfers can be created by selecting a face:
the application chamfers its edges.

Keep the default mode: enter a length value and an angle
value.

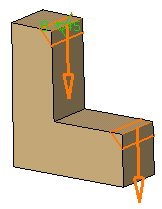
Optional: : Click Preview
to see the chamfers to be created.
The application previews the chamfers with the
given values.

In our scenario, because both selected edges imply no
tangencies, the choice of a propagation mode is unnecessary. Click
OK.
The specification tree indicates this creation.
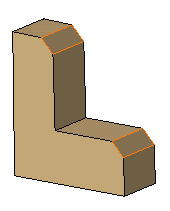
These are your chamfers:
