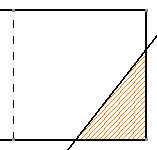
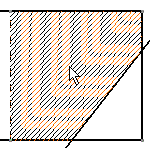
Select the area fill.

Right-click the area fill and select Area Fill Modification
 .
.
The Tools Palette toolbar appears.
Make sure that Automatic Detection
 is selected in the Tools Palette toolbar
and click inside the area that you want to make associative
to the area fill.

The Tools Palette toolbar disappears.
The area fill is now associative with the selected
element.
For the purpose of this scenario, we will now
isolate this area fill, then move it.
Right-click the area fill and select Area Fill Modification
 .
.
The Tools Palette toolbar appears.
Click Create Datum
 and click the area fill.
Drag the area fill and drop it at its new location.


Note: You can also select the Isolate
and Area Fill modification options from the contextual
menu.