Select the geometrical elements to be constrained to
each other.
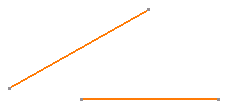
For the purpose of our scenario, select the two lines you created.

Click Constraint with Dialog Box
 in the Geometry Modification toolbar.
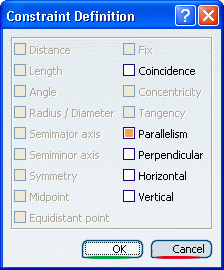
The Constraint Definition dialog box appears. In the Constraint Definition dialog box,
select the Parallelism check-box to specify that the selected
lines should be parallel.

You can preview the result.

At this time, you can still select another option from
the dialog box if you decide to apply another type of constraint. For
the purpose of the scenario, simply click OK to validate.
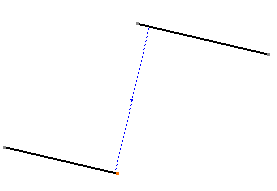
Both lines are now constrained as parallel to each other. Modify the position of one of the lines, by moving one
of its end points, for example.

As you can see, the lines are constrained so as to remain parallel to
each other, whatever the new position and/or length you assign to one of
them.
|
