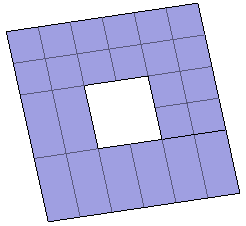
Click Erasing
 .
.
Select the face to erase.
A Tools Palette is displayed:

The following icons let you:
-
 erase a face
-
 erase an edge
-
 validate the command using the Apply mode
Click Face Erasing
 (it is selected by default).
Click the face(s) to erase.
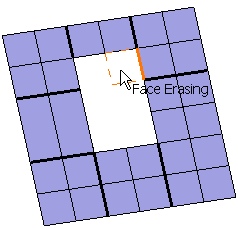
Press Ctrl to select multiple elements to
erase.
Release the mouse when you are satisfied with the new
shape of the surface.
Click Apply (enter)
 to validate the command you make or use Crtl key to multi-select the surfaces
or edges to be erased and click Apply.
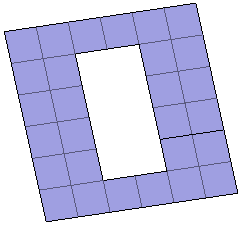
Click Edge Erasing
 .
.
Click the edge to erase.
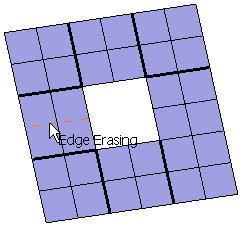
The erasing propagates to the connected edges:
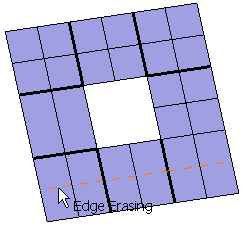
Release the mouse when you are satisfied with the new
shape of the surface.
Click Apply (enter)
 to validate the command you make or use Crtl key to multi-select the surfaces
or edges to be erased and click Apply.
