Cutting Faces | |||||
|
| ||||
Click Faces Cutting
 .
.Tip: You can also access this command by pressing ALT+SHIFT+F. Select the surface to be cut.
A Tools Palette is displayed:

The following icons let you:
-
 insert one or more sections (this mode is activated by default)
 -
 manipulate the positioned section
 -
 define the number of sections using a dialog
box
 -
 apply the command
A slider is displayed at the right of the screen to let you define the number of sections between 1 and 9.
-
Click Cut Multi-edges
 if not already selected.
Drag the slider to the number of desired sections.
Cut the surface as many times as you wish.
Now, click Cut Manipulation
 .
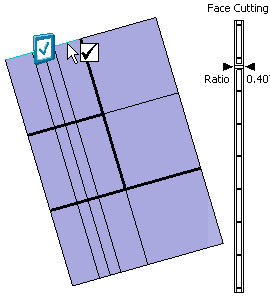
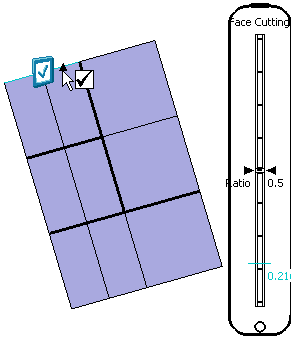
.A new slider is displayed at the right of the screen to let you position the sections using a ratio (the ratio value depends on the number of sections you have previously defined).
Drag the slider to the desired ratio.
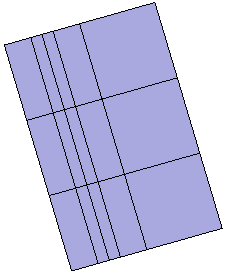
The position of the sections moves on the surface:

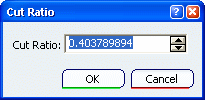
Tips: - You can also click Section Number Edition
 to open the Cut Ratio dialog
box and define the ratio. The field dynamically updates whenever
you move the slider and vice-versa.

- If the number of sections has been set to 1 and only one edge has
been selected, positioning the section can directly be defined by
picking the selected edge:

A second click on the edge allows to position the section and validate the command.
- To deselect an edge, press Ctrl and click the edge.
- You can also click Section Number Edition
Click Apply (Enter)
 to validate or press
Crtl to multi-select the cut surfaces then click Apply
(Enter)
 .
.