Importing Meshes | ||
| ||
Click Import Subdivision
 .
.
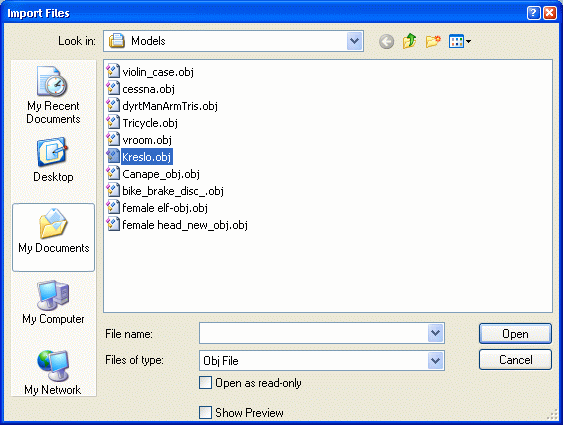
The Import Files dialog box opens.
Select the file to import.
A Tools Palette is also displayed.
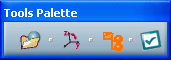
The following icons let you: flip Y and Z up
 create a GS
Click Open.
A preview of the imported subdivions and meshes is displayed (one color and one arrow per subdivision).
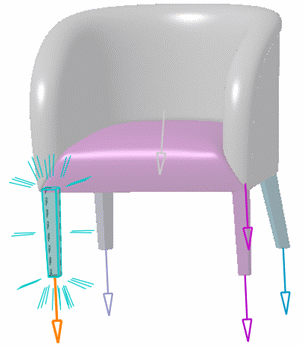
Note: Colors are displayed according to the options set in Tools > Options > Shape > Imagine and Shape > Display. For instance, here we selected Automatic colored in Multi-Selection Mode, white as the backgroung color and Show hidden lines in dashed lines and any of the three visualization options.
Optional: Click Flip Y up and Z up
.
Note: If the model is not correctly oriented in CATIA after the import (i.e. with Y up), you have to click this icon to flip to the Z up axis.
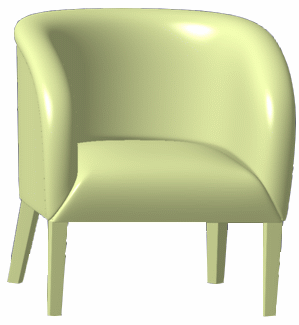
Click Apply (Enter)
 to validate the import and create the subdivisions in the specification tree.
| Warning: The obj. file cannot be imported if it contains tessellations. |