Swept Volume Using Segments of an Manikin | |||
| |||
Click Logs manikin movements for a swept volume
 in the Manikin Tools toolbar.
 The Swept Volume dialog box appears.
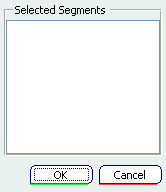
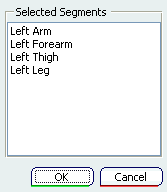
Select from the 3D geometry window what segments are required. In this scenario we select the ones shown, and select OK.
Using the Forward Kinematics,
 move the Left Arm and Leg.
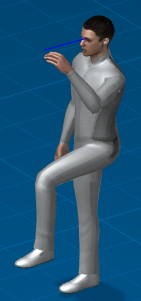
When the moves are completed, deactivate the Swept volume icon. The message window appears, select OK .

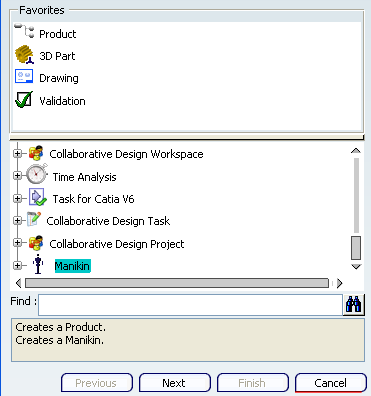
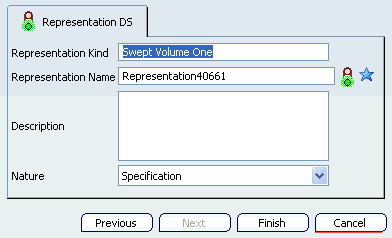
Select the PLM Access, and New. Select Representation, Geometric Output, Swept Volume, and click on the Next button.
The Swept Volume Representation dialog box appears. Type in a Representation Kind name. Here we used Swept Volume One
The Swept Volume dialog box appears.
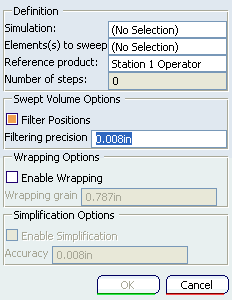
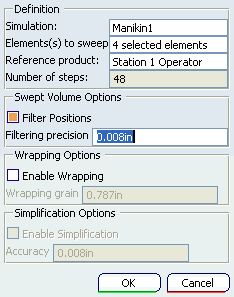
Select the Manikin, and the Swept Volume imports the data into the dialog box.
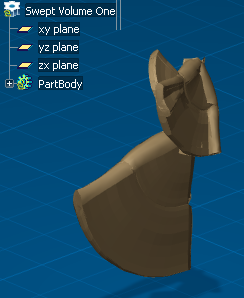
The 3D window opens the Swept Volume that was created.
Note: Either you can save this Swept Volume. or you can insert the Swept Volume. See Importing the Swept Volume into a Process