Deforming Elements According to Surface Wrapping | |||||
|
| ||||
Click Wrap Surface
 in the Advanced Surfaces toolbar.
The Wrap Surface Deformation Definition dialog box appears.
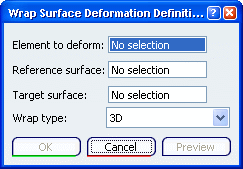
In the Wrap type list, select any one of the option:
- 3D
- Normal
-
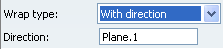
With direction
For this type, you need to select a deformation direction:
Click OK to create the deformed element. The element to deform is put in no show mode.
The element (identified as Wrap surface.xxx) is added to the specification tree.
Element to deform (3D and Normal types)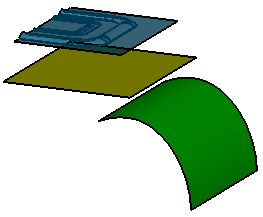 Resulting Surface (3D)
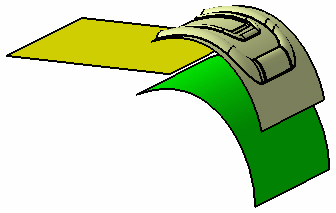 Resulting Surface (Normal)
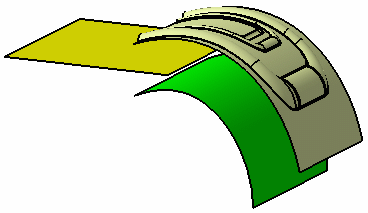 Element to deform (With direction type)
 Resulting Surface (With direction type)
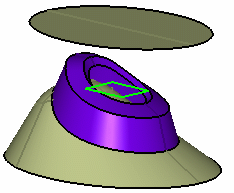
Important:
|