More about Parallel Curves | ||||
|
| |||
- You can click Reverse Direction to display the parallel curve on the other side of the reference curve or click the arrow directly on the geometry.
- When the selected curve is a planar curve, its plane is selected by default. However, you can explicitly select any support.
- When you modify an input value through the dialog box, such as the offset value or the direction, the result is computed only when you click Preview or OK.
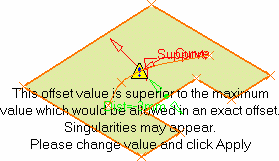
- Would the value be inconsistent with the selected geometry, a warning
message is displayed, along with a warning sign onto the geometry. If you
move the pointer over this sign, a longer message is displayed to help
you continue with the operation.

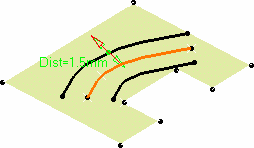
- Select the Both Sides check box to create two parallel curves,
symmetrical in relation to the selected curve, and provided it is
compatible with the initial curve's curvature radius.
The second parallel curve has the same offset value as the first parallel curve. In that case it appears as aggregated under the first element.
Therefore, both parallel curves can only be edited together and the aggregated element alone cannot be deleted.
If you use the Datum mode, the second parallel is not aggregated under the first one, but two datum elements are created.

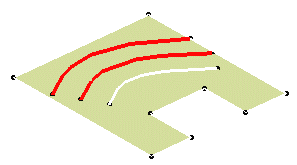
- Select the Repeat object after OK check box to create several parallel
curves, each separated from the initial curve by a multiple of the
offset value.
In the Object Repetition dialog box, enter the number of instances that should be created and click OK.

Tip: You can now use laws with two parameters (Linear or S type) when creating several curves.
| Important: Both Sides and Repeat object after OK options are not available when the Point box is filled in. |