Creating a Text Parallel to Screen

You can set a text parallel to screen.

Important:

  • A text parallel to screen is always created without leader.
  • You can unset a text parallel to screen by unselecting the Parallel To Screen text option.
  • You can set an existing text, with or without leader, parallel to screen by selecting the Parallel To Screen text option.
  • When you change the element associated with the leader, application keeps the associativity between the element and the leader.
  • Note that using the Text Properties toolbar, you can define the anchor point, text size and justification.
  • You can move a text using either the drag capability. You can move a text using either the drag capability. Note also that you can resize the manipulators, for more information, refer to ../SettingsMap/settingsfta-c-Manipulators.htm#settingsfta-c-Manipulators__cs-manipulators.


Before you begin:
  • Open an existing 3D shape with a text with or without leader.
  • Improve the highlight of the related geometry by selecting Highlight faces and edges in Selection.
Related Topics
About Text Annotations
  1. Be sure that Front View.2 is activated.
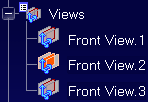


  2. Click Text Parallel to Screen:

  3. Select the face as shown to define a location for the arrow end of the leader.
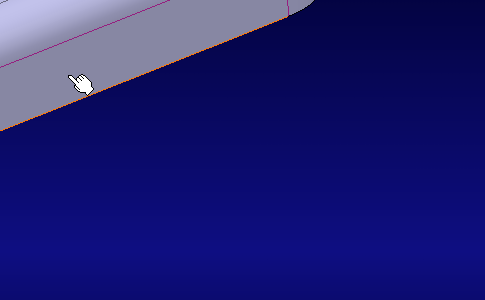
    The Text Editor dialog box appears.
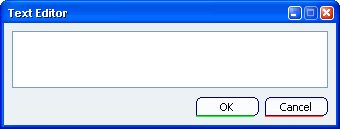


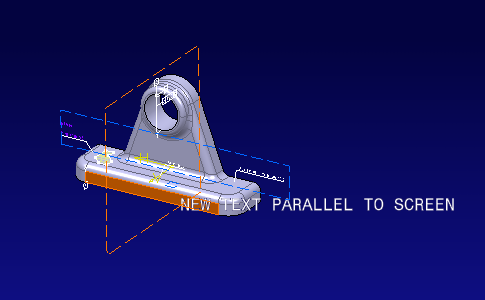
  4. Type in NEW TEXT PARALLEL TO SCREEN in Text Editor the dialog box.

    Tip:

    To start new line in the Text Editor, press Shift + Enter.

  5. Click OK to end the text creation.

    Tip:

    To end the text creation, you can also press Enter or click anywhere in the geometry area.


    • The text appears in the geometry.
    • The text (identified as Text.xxx) is added to the specification tree under the Note sub-node.
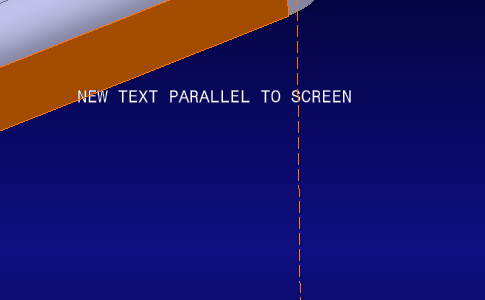

  6. Move and rotate the part.


    • The test keep parallel to screen.
    • The font size keep the same whatever zoom you choose.

  7. You can click anywhere in the geometry to unselect the text.