Click
3D Annotation Query Switch On/Switch Off
 if needed.
Note:
This option is activated by default, see
3D Annotation Query.
Select the annotation as shown:
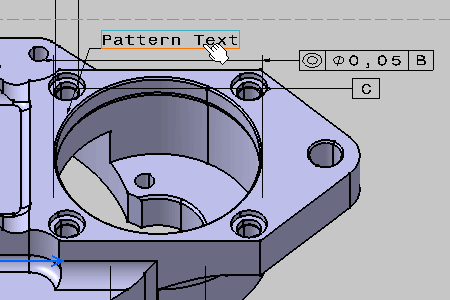
This location specification is defined on a pattern of holes. Any
toleranced hole of the pattern is then highlighted.
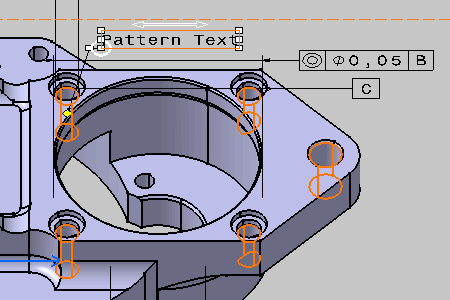
Any toleranced face hole of the pattern is then highlighted.
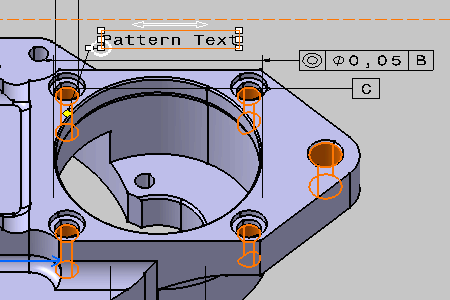
Select the yellow manipulator and start dragging the arrow head.
A yellow temporary trace is displayed. It corresponds to the
intersection between the annotation plane and the corresponding toleranced
elements. This trace defines all the possible positions for the arrow head that
are semantically correct for the selected tolerancing annotation.
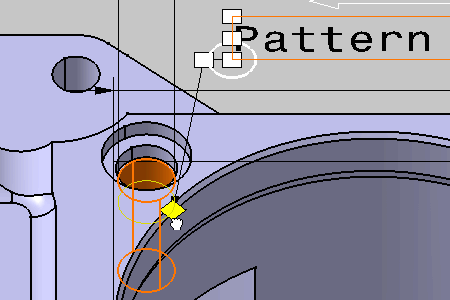
In our example, the toleranced elements are a group of five holes,
this is why we obtain five yellow traces:
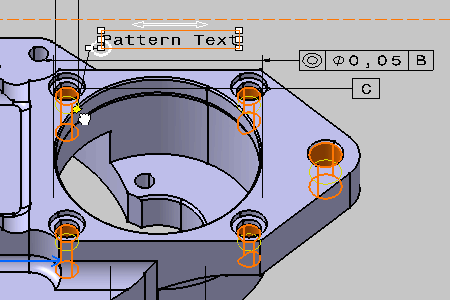
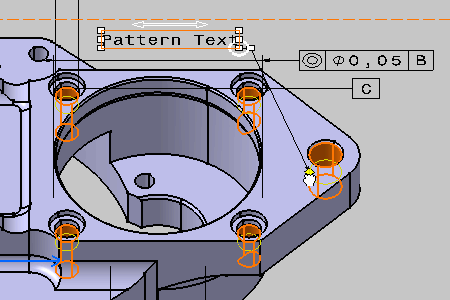
Drag and drop the arrow head on another trace to the right.
You can obtain this:
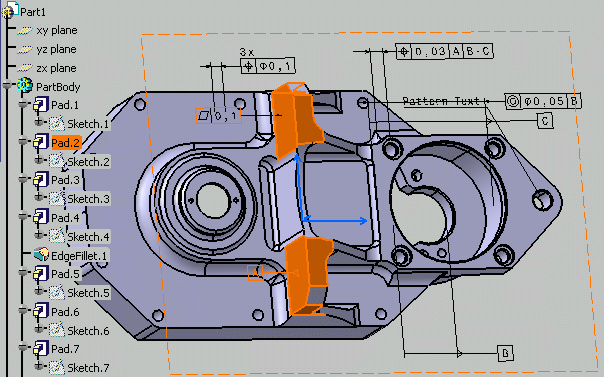
Select Pad.2 in the specification tree.
As you can see, the pad is highlighted in the geometry area, as
well as all annotations which are applied to it.
This functionality is demonstrated here using a Part Design
feature, but it is also available for Generative Shape Design features.
Note:
You can add the
3D Annotation Query Switch On/Switch Off
command to another workbench via
.
For more information, refer to the Customizing Toolbars and Workbenches chapter
in the Infrastructure User's Guide.