Select the views on which you want to generate dimensions.
For example, the front view.
Click Generate Dimensions Step by Step
 in the Generation toolbar, Dimension Generation sub-toolbar.
The Step-by-step generation dialog box appears and will remain displayed until the end of the dimension generation.
Click Visualization in 3D to see the
constraints corresponding to the dimensions to be created on the views.
Select the Timeout option. The default timeout
is set to two seconds (2s).
Enter the timeout value you need, three seconds (3s) for example.
Click Next Dimension Generation
 to start the
dimension generation.
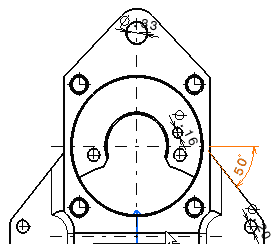
Dimensions appear one after the other on the views.
Now, you might need to pause the generation to modify
the dimension position, for example.
Click Pause in Dimension Generation
 .
.
The generation
is paused.
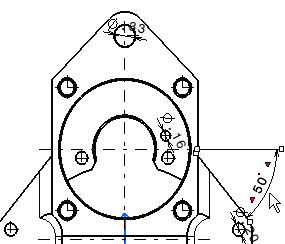
Select the dimension to be modified.

Drag the dimension to its new position.

Click Next Dimension Generation
 again and continue
the process.
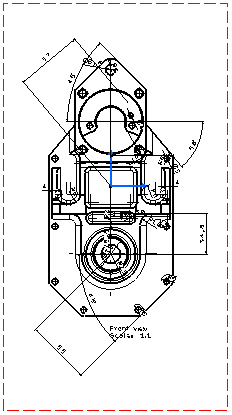
The dimensions are automatically generated on all the views.
The Generated Dimensions Analysis dialog box showing
the dimensions and constraints generated for each part (in this case, there
is only one) automatically appears. Refer to
Analyzing Generated Dimensions for more information.
The dimensions appear as shown, for example, on the front
view documented in this particular case.

