Creating Datums | |||||
|
| ||||
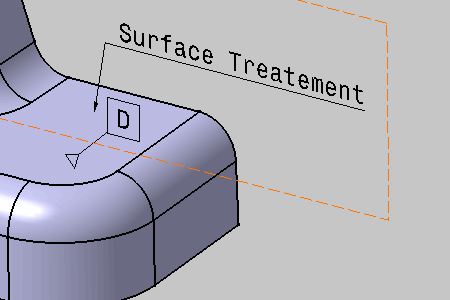
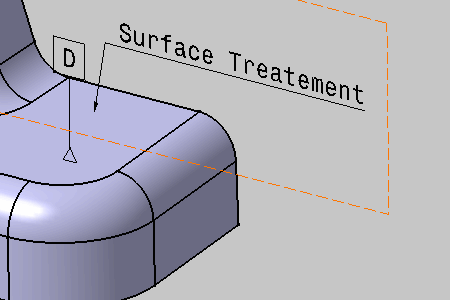
Activate the Front View.1 annotation plane.
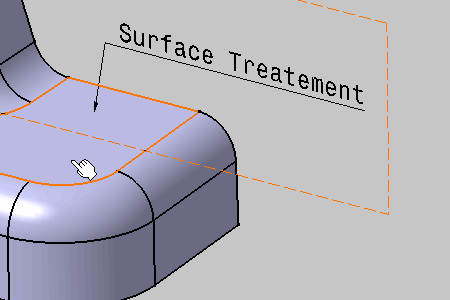
Select the attachment surface of the datum feature.
The Datum Feature dialog box displays with D as default identifier.
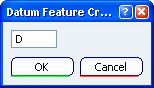
Click OK to create the datum if the identifier corresponds to your choice.
- The Datum feature is created in a specific annotation plane.
- The Datum entity (identified as Simple Datum.xxx) is added to the Specification Tree.
Important: This datum is only a 3D annotation without any semantic link to the geometrical tolerancing.
Select the datum and drag it anywhere.
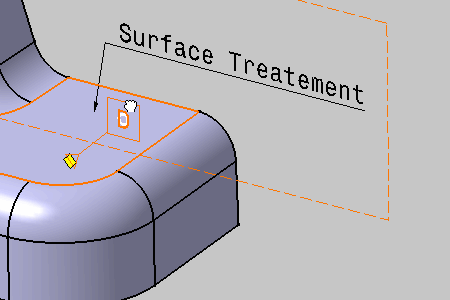
You can notice that it remains in the annotation plane.
Release the datum.