Ensure that Solid Functional Set.1 is the
current object in the 3D shape in which you want to instantiate your
power copy.

Note:
For more information on powercopy, refer to Part Design User's Guide: Using Power Copies.
Select Insert > Instantiate from Selection...
to instantiate the powercopy into Functional Set.1.
Select the PowerCopy feature from the specification
tree in the source 3D shape.

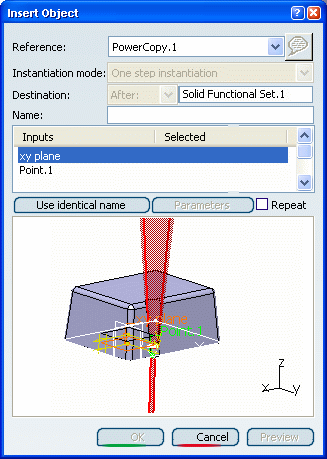
The Insert Object dialog box is displayed in the
target 3D shape. The Reference box contains the name
of the powercopy created in the previous task. For more details,
see Creating PowerCopies.

In the Inputs box, the first input,
xy plane, is selected: click the use
identical name
button to automatically select all the elements with the same
name.
This capability searches for features, publications, sub-elements
or parameters having the name of the input in the 3D shape.
If a feature with the input name is found, this feature is automatically
used as input
xy plane and Point.1 are automatically
selected.
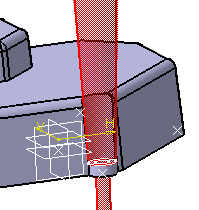
After each selection, an indicator is displayed
in the 3D area, with orientation when necessary.
Because you do not want to select Point.1
to instantiate the power copy, but rather wish to use Point.2,
just select it in the geometry area.
Point.2 is now displayed in the Selected
box.

Click on the Parameters button to display
the Parameters dialog box and modify values, if needed. Modified
parameters using Parameters are retained for the next instantiation.
Click Close to confirm the operation and
close the dialog box.
Click OK to create the PowerCopy instance.
The PowerCopy is instantiated in context, meaning its limits
are automatically re-defined taking into account the elements
on which it is instantiated. The features are created and their
names are displayed in the specification tree. Once instantiated,
the powercopy is no more linked to the original PowerCopy used
to define them.
