Inserting a Local Modifier in a Chain of Local Modifiers | ||||||
|
| |||||
Insert a Local Modifier in a Chain of Local Modifiers
You can insert a local modifier in a chain of local modifiers using the method recommended below.
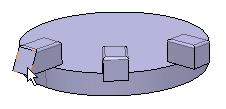
Right-click Circular Pattern.1 and select Circular Pattern.1 object > Deactivate.

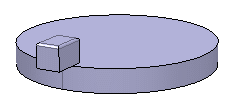
The pattern is now deactivated and hidden:
Click Draft Reflect Line
 .
.
The Draft Reflect Line Definition dialog box appears.
Select Added Prism.2's face as shown and enter 25 deg in the Angle box.

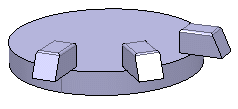
Right-click Circular Pattern.1 and select Circular Pattern.1 object > Activate. Note that the Draft has been created on every Prism (even the patterned ones).
Right-click Draft.1 and select Parents/Children.
Draft.1 is now located between Added Prism.2 and Circular Pattern.1.

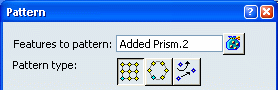
Double-clicking the pattern feature shows that the draft feature was used as the feature to pattern.
The pattern was modified due to the insertion of the local modifier into the chain of local modifiers.
To insert a draft reflect local modifier between cavity prism and pattern, it is necessary to deactivate the pattern then create the draft local modifier then reactivate the pattern to get the required effect. This is a good method when inserting a local modifier in a chain of local modifiers.
![]()
The Local Modifier is not Inserted in a Chain of Local Modifiers
You can observe what happens if the local modifier is not inserted in the chain of local modifiers.
Click Draft Reflect Line
in the Dress up & Modifiers toolbar (Drafts sub-toolbar).
The Draft Reflect Line Definition dialog box appears.
Select Added Prism.2's face as shown (make sure you did not select a patterned one) and enter 25 deg in the Angle box.
Click OK.
The draft feature is created on the selected prism only.
Right-click Circular Pattern.1 in the specification tree and select Parents/Children.
Circular Pattern.1 is located between Added Prism.2 and Draft.1.

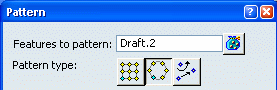
In this task, using a local modifier you have modified the added prism feature used to generate the pattern. Double-clicking the pattern feature shows that the added prism feature was used as the feature to pattern.