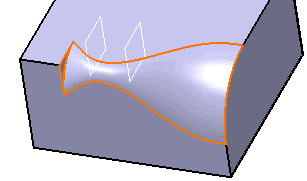
Click Variable Radius Fillet, local modifier
 in the Dressup & Modifiers toolbar (Functional Fillets sub-toolbar).
The Variable Radius Fillet Definition
dialog box appears. Default options let you define a Cubic
variation of the Variable Fillet.
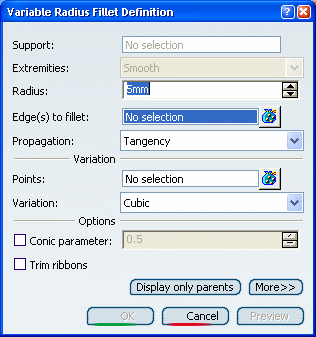
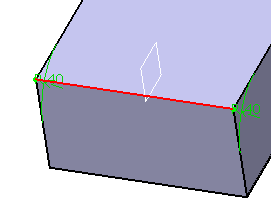
Select the edge you want to fillet. You can define variable
radius fillets on closed edges.
The application detects both vertices and displays two identical radius
values.
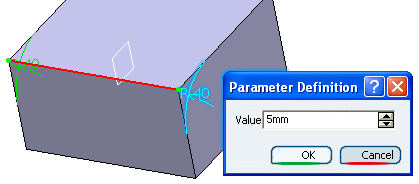
Double-click the radius to access the Parameter
Definition dialog box. For example, enter 50mm.
Click
 at the
right of the Points box. Select Variable_Plane
in the geometry.
Double-click the plane. For example, enter 10mm.
Click OK in Variable Radius Fillet Definition
dialog box.
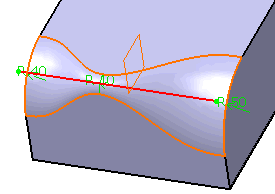
You can select the Conic parameter check box options
which allow you to vary the section of the fillet.
For a parameter comprised
between or equal to:
- 0.5, the
resulting curve is a parabola.
- 0 < parameter
< 0.5, the resulting curve is an arc of an ellipse.
- 0.5 < parameter
< 1, the resulting curve is a hyperbola.
Conical fillets do not
handle twist configurations. If a twist is detected, the fillet operation
fails.
Conical fillets may produce
internal sharp edges due to a curvature discontinuity of the fillet
supports. Healing is used to smooth these sharp edges.
If the fillet surface
curvature is lower than the support curvature, fillet surface relimitation
may fail. In such cases, the conic parameter has to be decreased.
To edit this fillet, double-click
EdgeFillet.1 in the specification tree. Click the More
button to access the Limiting element option.
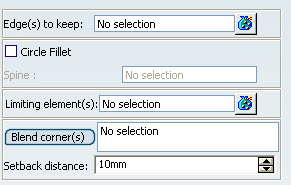
Click
 close
to Limiting element(s), then select Limit_Plane
in the geometry.
Click this arrow to reverse the direction and therefore
specify the portion of material that will be kept.
Click OK.
The variable radius fillet is trimmed to Limit_Plane.
The final part looks like this:
