Routing along Retainers

A retainer is a special type of support comprising a flat base. Branches routed along retainers keep in contact with the base plane, whatever the segment diameter.

This task shows you how to:

Related Topics
More about Routing along Retainers

Define a Multi-base Retainer

You can define a Multi-base Retainer and propagate it to the database.

  1. Switch to Electrical Part Design workbench.

  2. Define both sides of the 3D shape as a retainer. To do so:

    1. Click Support and select the 3D shape.
    2. Set the parameters in the Support Definition dialog box for the first side.


      1. First plane definition point: select a point defining the position of the segment when routed along the retainer.
      2. Second plane definition plane: select a plane defining the way out, for example the opposite plane.
      3. Base plane definition: select the plane along which the segment will be routed.

      For more information, see Electrical Library User's Guide: User Tasks: Creating Supports: Creating Retainers.

    3. Repeat these steps for the second side.

      Note: Note that the Second Plane Definition is already set and cannot be changed.

    Publications in the specification tree show specific retainer parameters: EHISUPPORT-RefBasePlane.1 and EHISUPPORT-RefBasePlane.2.

  3. Propagate the retainer to the database.

Route Branches

You can route branches along points.

  1. Switch to Electrical Assembly Design Workbench.

    Warning: A 3D shape cannot be used as both a retainer and a standard support: either the base plane, in the case of a retainer, or the entry point and planes, in the case of a standard support, are taken into account to route the branch.

  2. Select Insert > Electrical Behavior > Electrical Geometry.

  3. Insert your 3D shape into this product using the contextual menu: Insert > Existing Product.....

  4. Create a electrical branch geometry using Electrical Branch Geometry.

    CATIA switches to the Electrical Part Design workbench.

  5. Create a few points to route the branches, using Point :

  6. Click Branch .

    The Branch Definition dialog box opens.

  7. Click Route Definition.

    The Route Definition dialog box opens.

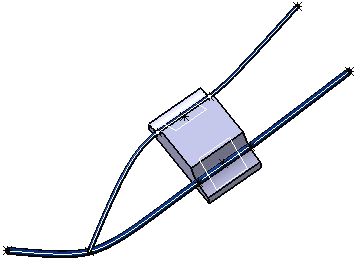
    1. Select the first two route points.
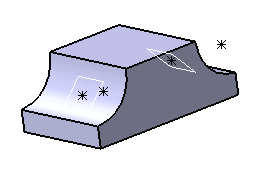
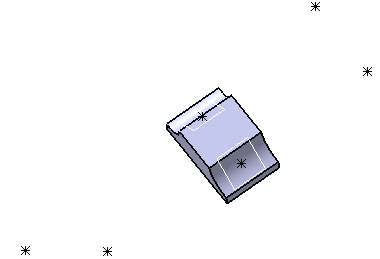
    2. Pause over the multi-base retainer, then select one of the section labels that appear identifying which side of the retainer you want to route along.
    3. Select the last point.
    4. Click OK to validate.

  8. Repeat these steps for the other side.

  9. Click OK to validate the entries made in the dialog boxes.

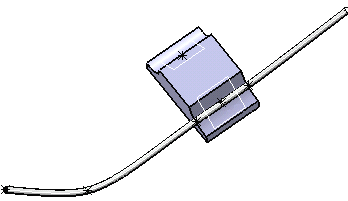
    The result looks like this: