In the Electrical Assembly Design workbench, select Insert > Local Slack
 .
.
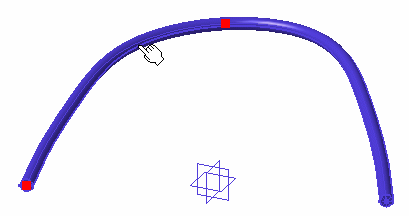
Click the portion of the branch
to which you want to add slack:
Two route points are highlighted: they delimit the portion
of the branch to which the slack will be added.

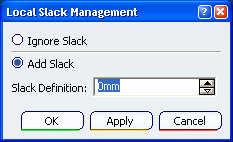
The Local Slack Management dialog box appears:

Two options are available:
- Ignore slack: slack is not taken into account
between highlighted route points.
This option is not available if you computed segments using
the Flex Algorithm.
- Add slack: extra length is added to portion
of the branch between the two route points.
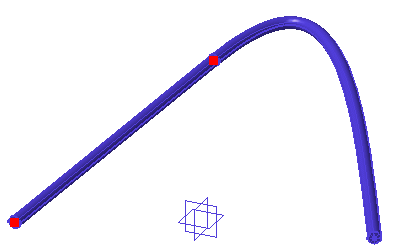
Select Ignore slack and click OK.
The portion now looks like this:

Click Local Slack
 again.
Select the other portion of the branch (on the right).
Select Add slack, enter 10mm in the
Slack definition box and click OK.
The selected portion of the branch is updated.
Note:
You
cannot add slack inside supports.