Position the cursor in the desired field and key in
the desired values.
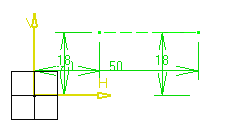
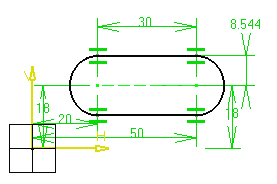
For example, key in the coordinates of both center points of the elongated
hole: a first point (H: 20mm and V: 18mm) and a second point (H:
50mm and V: 18mm).
First Center

Second
Center
H=50mm, V=18mm and press Enter.
You just defined the profile major axis using points. What
you can also do is enter both the length and angle of this axis.

Point on Oblong Profile
For example, key in the coordinates of a point on the elongated
hole (H: 53mm and V: 10mm).
In other words, you just defined the profile minor axis or
the elongated hole width applying a given radius to the
profile extremity.
At this step, what you can also do is enter the elongated hole
radius.
The elongated hole appears as shown here.

Note:
In this task, we used the Sketch tools
toolbar but you can create this elongated hole manually too. For this, move
the cursor to activate SmartPick and
click as soon as you get what you want.