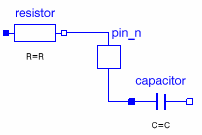
Creating a Standard Connection

You can create a connection between two components, by linking their connectors.


Before you begin: Create a behavior representation, either a logical behavior or a behavior library.
Related Topics
About Connectors and Connection
  1. To launch the Connection command, you can:

    • Fly your cursor over a connector, then click the Connection Starter.
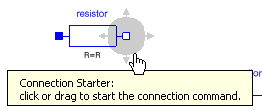
      Tip: By default, the Connection Starter option is selected from Tools > Options... > Dynamic Behavior Modeling > Editor tab. From this tab, you can de-select this option, and also define its shape and size.


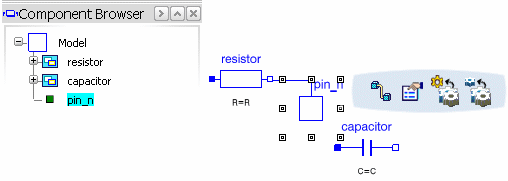
    • Select a connector from the Component Browser or from the diagram to display the Balloon toolbar, then select Connection .

      Tip: This command is also accessible from the Authoring toolbar.

    A connection line appears and follows the cursor.

  2. To create a right-angle, right-click and select Right Angle from the contextual menu.

  3. Click the diagram layer to create a way point for the connection.
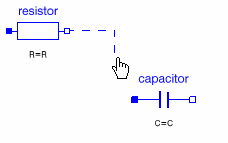


    Tip: You can also select the connection line to see way points that can be moved, and create new ones from the contextual menu (Connection object > Add Point).

  4. If need be, right-click and select Create Connector from the contextual menu.

    A new port (pin_n) is created.
  5. To create the connection:

    • Fly over a second connector, and select its connection starter.
    • Select directly a second connector.

    The connection is created.