Adding a Picture | |||||
|
| ||||
Click Picture
 in the Drawing toolbar.
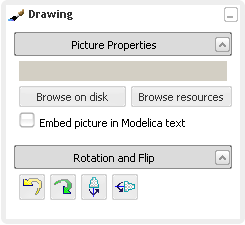
The Drawing dialog box is displayed, and a cross appears under your cursor.

Click the needed position in the diagram and move your cursor to define the convenient size.

Click the diagram when the size is correct.
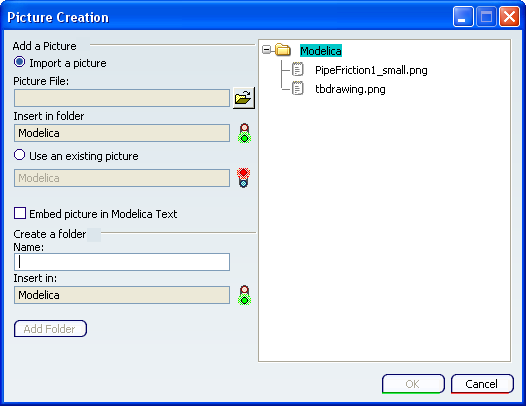
The Picture Creation dialog box appears.

To import a picture:
-
Check that the Import a picture option is selected then click Browse.
A Select files dialog box appears.
- Select the picture you want to import and click Open to validate your selection and close the Select files dialog box.
- From the Picture Creation dialog box, click OK to import the file and close the dialog box.
The selected picture appears in the diagram.
-
Check that the Import a picture option is selected then click Browse.
To use a picture already stored in the library:
- Check the Use an existing picture option.
- Select the picture from the resources structure of the library.
The path of the picture appears in the Use an existing picture field.
- Click OK.
The selected picture appears in the diagram.
Tip: If you want to embed the picture in a Modelica text, select the Embed picture in Modelica Text option. By default, this option is not selected. Note: You can control the size of the picture by selecting the points placed all around the picture.
To create a new folder in the resource structure in order to store the new picture:
- Type a name in the Name field.
- From the resources structure, select a location for the new folder.
The selected folder appears in the Insert in field.
- Click Add Folder. The new folder is added in the resources structure of the library.