Open any document with geometrical data.
Rotate to see how the objects, the
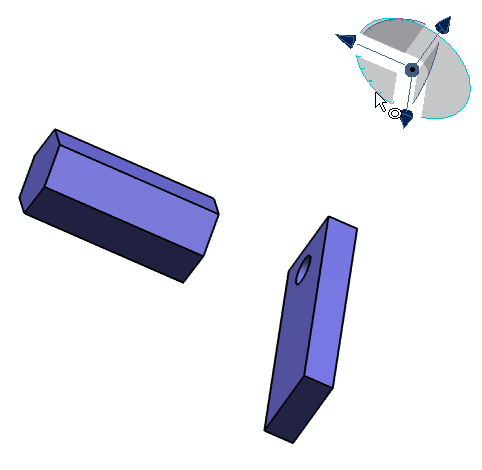
Robot and the absolute axis are rotated together:
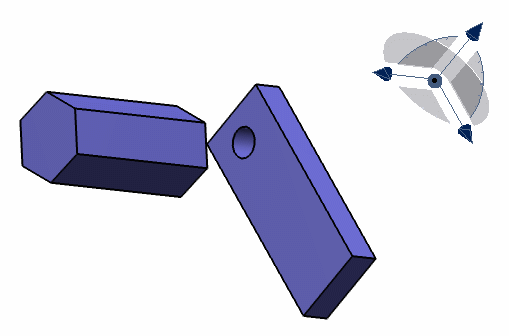
Point to the Robot.
The cursor shape changes according to the element you are pointing
at.
You will
also notice that the following parts of the Robot are highlighted
as you point to them:
- Robot axes
- Arcs on the planes of the Robot and the planes themselves.
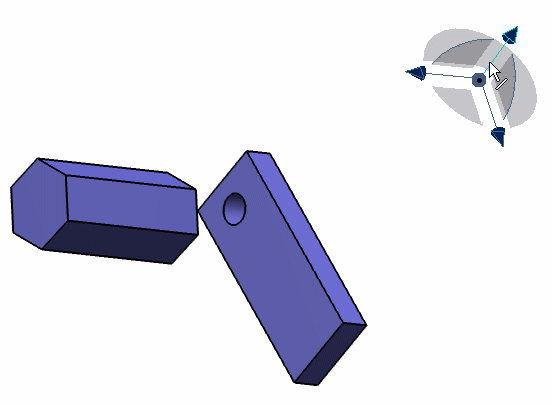
Drag any axis on the Robot.
The viewpoint is panned along the direction of the
axis. For example, dragging one axis upwards pans up along the
axis:
Drag an arc on the Robot.
For example, dragging one arc to the right
rotates the objects in the plane subtended by the arc:
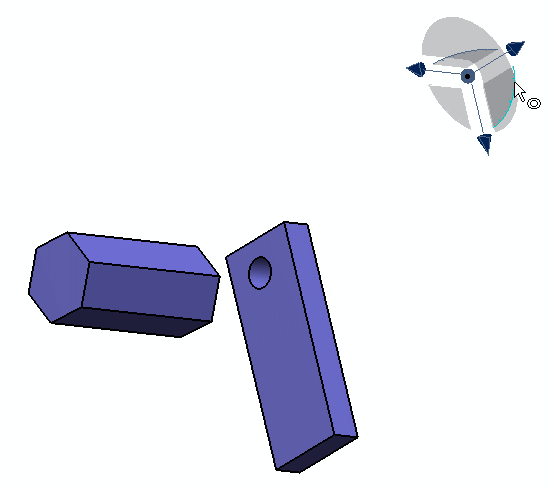
Dragging close to the blue cube rotates the
objects quickly ; dragging further away from the blue cube rotates
more slowly. The rotation axis used is the same as that used when
rotating using the other rotation tools.
Drag a plane on the Robot.
For example, dragging to the right one plane moves the objects on
the same plane:
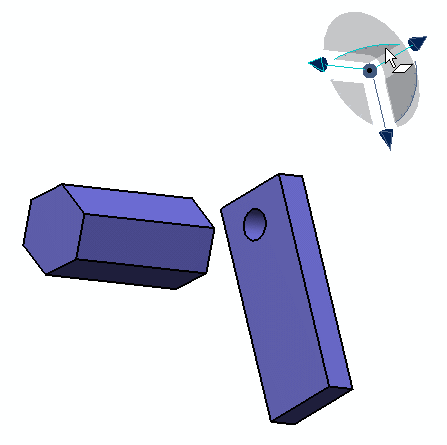
Drag the circle to rotate the objects on a plane:
Right-click the robot and click Show axis labels
in the contextual menu.
Each axis is now identified by a letter.
Point to either X, Y or Z to highlight the letter, then
click the letter to make that axis perpendicular to your eye-point.
Clicking the same letter reverses the point from which you view the
objects. For example, clicking the letter Z lets you view the document
along the Z axis.