Manual Configuration | ||||
|
| |||
In the Views and Layout dialog box, select the Manual tab.
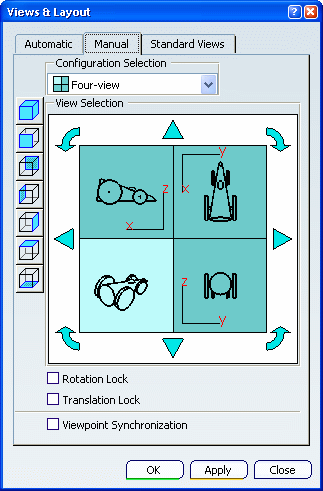
Click Apply.
The selected configuration is applied to the current 3D viewer and the Views and Layout dialog box stays open:
As soon as you apply a configuration to the current viewer, the Create Multi-View icon
 in the View toolbar changes to
 to indicate that
the multi-view mode is now active.
to indicate that
the multi-view mode is now active.
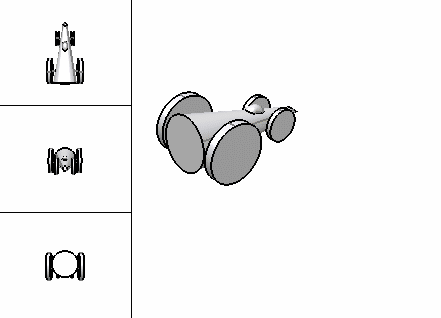
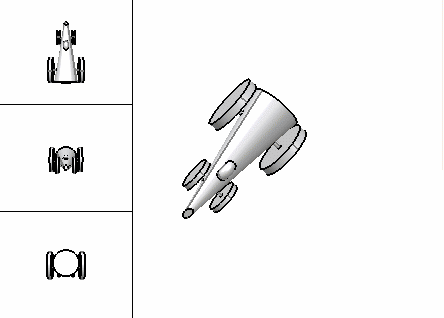
Manipulate a viewpoint in one of the four views.
The other three viewpoints are not modified and you can manipulate them independently:
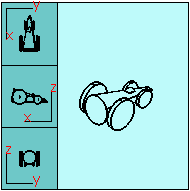
Click a view in the View Selection area.
The selected view is set as the current view.In the example below, the isometric view has been set as the current view:
Select one of the standard views displayed to the left.
The selected standard view is applied to the current view. For instance, click Back View
 to set the Back View as the current view.
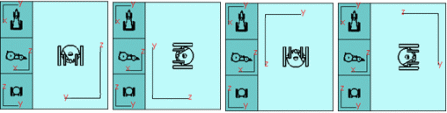
Click the
 rotation arrow repeatedly and check the result in the View Selection
area.
rotation arrow repeatedly and check the result in the View Selection
area. The orientation of the current base view is modified (one click on an arrow rotates the base view by 90 degrees in the arrow's direction).Below is an example with starting position displayed to the left:
Note that if the current view is an isometric view, the rotation step will be 60 degrees and not 90 degrees:

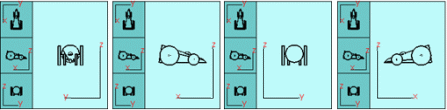
Click the
 arrow repeatedly and check the result in the View Selection area.
 The view direction is changed by predetermined increments.Below is an example with Back View as the current view and the starting position displayed to the left:
- If the current view is not an isometric view:
- Clicking the left or right selector makes the view's horizontal axis change by a predetermined increment. If you click a selector then the opposite afterwards, the view direction is reversed.
- Clicking the up or down selector makes the view's vertical axis change by a predetermined increment. If you click a selector then the opposite afterwards, the view direction is reversed.
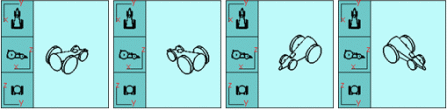
- If the current view is an isometric view: clicking one of the four selectors makes the view direction change to one of the eight possible isometric views by predetermined increments. The view direction for an isometric view is always the direction from the eye point (the location of the viewer's eye within the 3D scene) to the axis origin. The picture below illustrates the eight eye points for the different isometric views:

Therefore the result will be as follows when clicking the
arrow
repeatedly for an isometric view:
- If the current view is not an isometric view:
To go back to the standard viewer, click Create Multi-View
in the
Viewtoolbar.
