Displaying Hidden Objects | ||
| ||
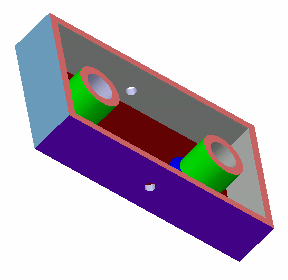
Display the same geometry as explained in Hiding Objects.
In our example, a line which was originally displayed is now in the No Show area:

Click Swap visible space
 in the View toolbar to display the contents of the No Show
area.
in the View toolbar to display the contents of the No Show
area.Tip: You can also click the bottom right corner of the application window: 
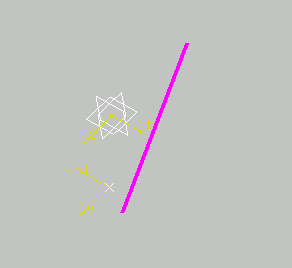
In our example, you now see only the line. In addition to this, the geometry area changes color to indicate you are now viewing the No Show space:

Click Swap visible space
 again to return to the Show space.
You can continue working on objects in the No Show space. You can also select objects and transfer them back to the Show space by clicking Hide/Show
 or by right-clicking then selecting Hide/Show.
Important: When selecting multiple objects, all the selected objects are processed in one step and as a whole. There is no individual process, whatever the original space of each selected object. This means that all the selected objects are in the same final state: - If all the selected objects are in the Show space, clicking Hide/Show transfers them all to the No Show space.
- If all the selected objects are in the No Show space, clicking Hide/Show transfers them all to the Show space.
- If the multi-selection is heterogeneous, clicking Hide/Show transfers the selected objects either to the Show space, or to the No Show space ; the result is unpredictable.