Hiding Objects | ||
| ||
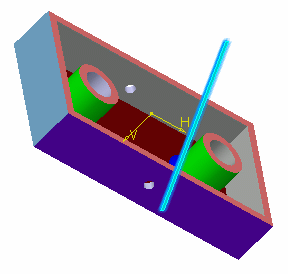
Open any product with geometrical data then select an object.
In our example, the product contains a part body and a line and we select the line:

Click Hide/Show
 in the View toolbar.
Tip: You can also: - Right-click the object then select Hide/Show.
- Select View > Hide/Show > Hide/Show.
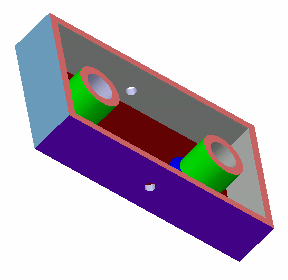
The object (the line in our example) is no longer displayed because it has been transferred into the No Show space:

If you have several windows open containing the same objects, the object is transferred to the No Show space in each window.
Important: When selecting multiple objects, all the selected objects are processed in one step and as a whole. There is no individual process, whatever the original space of each selected object. This means that all the selected objects are in the same final state: - If all the selected objects are in the Show space, clicking Hide/Show transfers them all to the No Show space.
- If all the selected objects are in the No Show space, clicking Hide/Show transfers them all to the Show space.
- If the multi-selection is heterogeneous, clicking Hide/Show transfers the selected objects either to the Show space, or to the No Show space ; the result is unpredictable.
Click Hide/Show
 again to display the object in the Show space.
You cannot hide a face or a feature of a solid tree because all solid features aggregated under a solid tree are considered as one element. Therefore, they cannot be individually impacted by the Hide/Show capability.
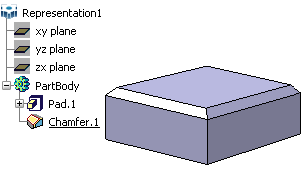
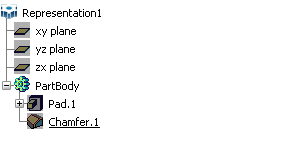
For instance, in the following tree...

... hiding a feature such as Chamfer.1 or Pad.1 hides the whole solid geometry:

For more information on the behavior of the Hide/Show capability in products, see VPM Physical Editor User's Guide: Managing Graphic Properties in Products.
Optional: When an object is selected, right-click it then select Properties (or select Edit > Properties), access the Graphic tab, and look at the Shown check box.
This lets you know whether the object is hidden or not:
-
 means that the object
is in the Show space
 -
 means that the object
is in the No Show space.
This check box is displayed for information only, the Properties dialog box does not let you modify the object's visibility.
Important: - A component placed in the No Show space in the product structure appears in low highlighting in the tree.
- The background color of the No Show space can be modified through the No Show background list in the Visualization tab.
-