Editing Images in the Album | ||
| ||
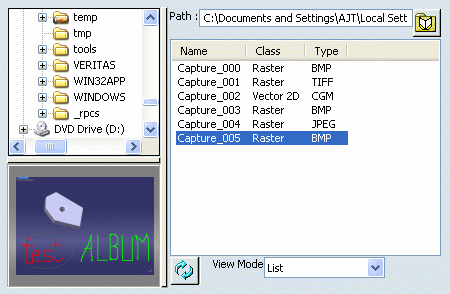
Right-click the image to be edited then select Edit.
Note that depending on the image format you select, the command may be grayed out. This is the case when right-clicking a MPEG or AVI file, for instance.
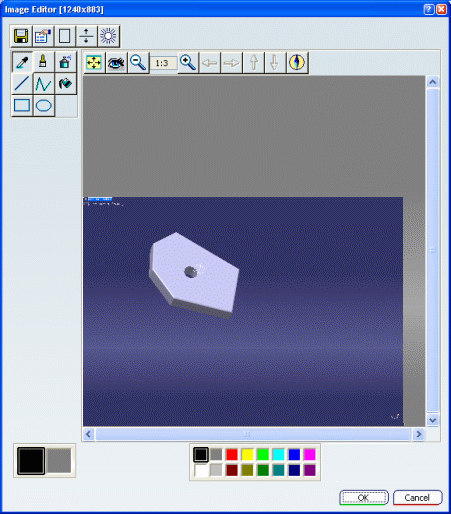
Optional: In the Image Editor window, clicking the Display Properties
 button displays memory information.
This information is identical to what is displayed when previewing images in the album.
Click the Adjust Color
 button.
The Color Adjust window lets you djust the color brightness, contrast and gamma using the corresponding slider:
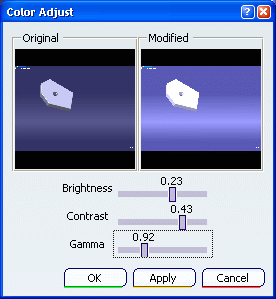
Click OK to update the image in the editor and close the Color Adjust window.
Use the Effects palette to zoom, rezise or translate the image.
Tip: You can also use the following keyboard shortcuts: Shortcut Action Page Up Click
 .
.The Navigator lets you visualize the image and zoom in or out by using the icons or the scrollbar.
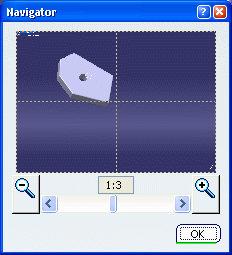
Any visualization change you have made in the Navigator simultaneously updates the image displayed in the Image Editor.
Optional: Pick wherever you want in the Navigator preview to set the position of the viewpoint center in the Image Editor:
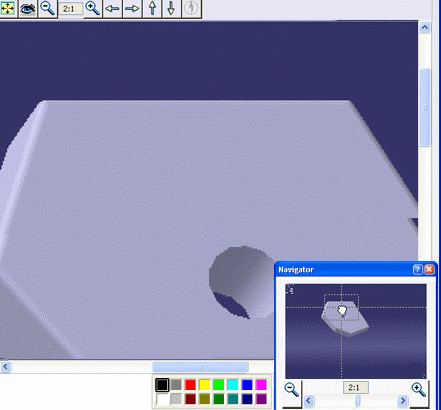
When finished, click OK to exit the Navigator and go back to the Image Editor.
Use the Tools palette to select the color to be used for painting and to draw elements.
Optional: Click Save
 to save the edited image under another name and/or in another
location.
to save the edited image under another name and/or in another
location.Click OK to validate and go back to the Album.
If the image has been modified, a window appears to prompt you to:
- Click Yes to overwrite the already existing image with the modified one. The image is saved with a name identical to the original image.
- Click No to save the image under a new name ("capture_000" by default) in TIFF format.
The image is automatically saved in the Album: