Open any document with geometrical data.
Select .
In the Views and Layout dialog box, select the Manual tab:
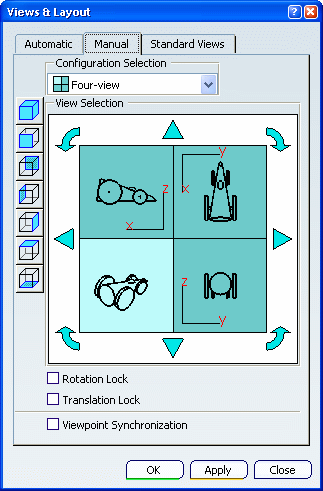
In the Configuration Selection list, make sure
that Four-view is selected then click OK.
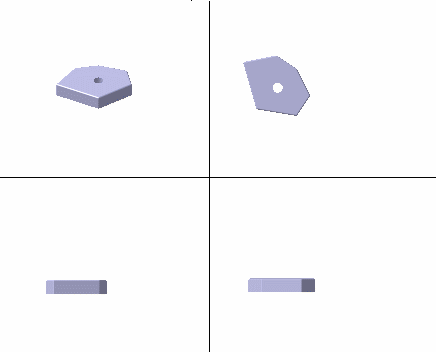
The viewer is divided into four equal views as shown below:
Select .
In the Capture
toolbar, click the
Options
 button.
In the Capture Configuration
dialog box, define the parameters to be applied for capturing the image.
Click OK to validate your parameters and close
the Capture Configuration dialog box.
In the Capture toolbar, click Capture
 .
.
A progress bar appears while the captured image is generated:
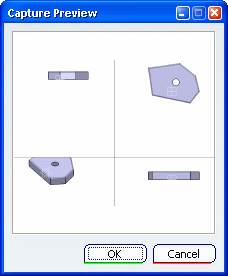
In the Capture Preview dialog box, click
OK.
The image is stored in the album and the Capture Preview
window is closed.
In the Capture toolbar, click Window area
 .
.
Click Capture
 .
.
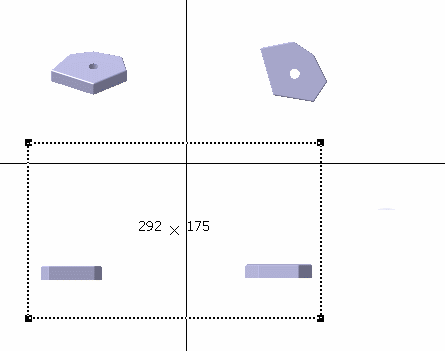
Click in the geometry area and drag to create a bounding
outline around the area to be captured then release the mouse button.
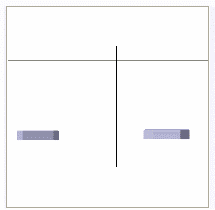
The image is displayed in the
Capture Preview window:
Click OK.
The image is stored in the Album.
When the Capture Preview window is closed, you can
see the height and width of the outline you have drawn:
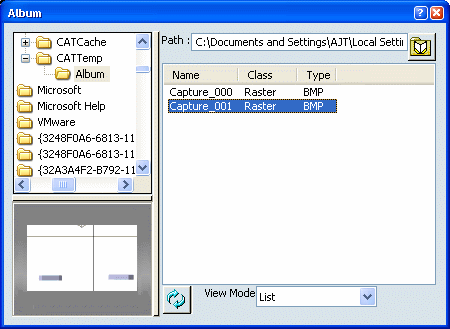
Select .
The captured images are listed in the Album:
