Changing Constraint Area Properties

This task shows you how to add or modify constraint area properties.


Before you begin: Create a Creating Constraint Areas.
Related Topics
Constraint Areas on BOTH Sides
Creating Constraint Areas
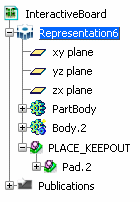
  1. In the specification tree, expand the constraint area entry and right-click the associated shape (Pad.2) and select Properties.


    The Properties dialog box opens. The properties of the constraint area are displayed:
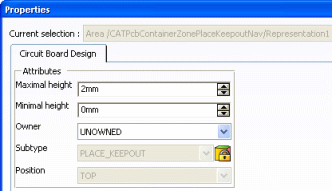


    Some of the constraint area attributes are displayed but cannot be modified:


    • Subtype
    • Position: TOP or BOTTOM

    Note: Different types of constraint area can have different properties.

  2. Enter 6mm in the Maximal height box and 2mm in the Minimal height box.

  3. Click OK.

    The pad is updated: the maximal and minimal heights are linked to the pad limits. They represent the overall dimensions of the constraint area.