Filtering Data using a Volume Filter | ||||
|
| |||
In the toolbar, click Filter
 .
.The Filter dialog box appears.
Note: The filter categories that appear depend on the data source connector you are using. See Functionality Availability.
Important: - The default unit of measure for Volume filters is millimeter.
- When you create a new volume filter, the default selection mode is Partly In and the default Clearance is 0. These values can be modified after the volume filter is created by using Edit.
Click Volume and click New
 .
.The Bounding Box Filter dialog box appears.
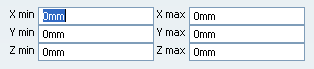
Enter coordinates to define the bounding box and click OK.
The bounding box filter criteria is displayed in the Filter tree.
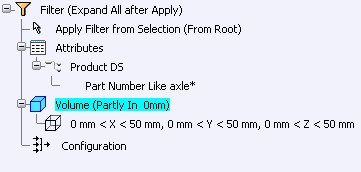
Important: For Volume filters, only one criterion can be activated. 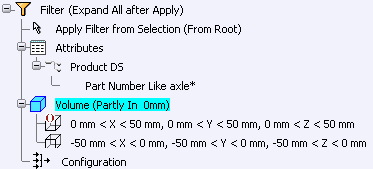
To edit the volume filter Selection Mode and Clearance values, click Edit
 .
.The Volume Filter dialog box appears.
