Managing Layer Filters on V4 Models | ||
| ||
Open a model in V6.
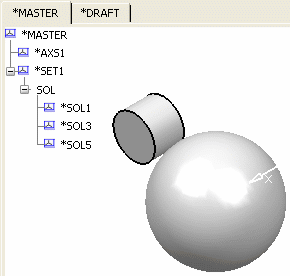
Once you have assigned objects to layers, you then create visualization filters (refer to: Using Visualization Filters in the Infrastructure User's Guide) which allows you to display only those objects located on specific layers referenced by the visualization filter.
The V4 layer number is imported into V6 and you can apply a Filter on it in V6. However, the V4 layer structure is not created in V6.
To apply,create,modify or delete an existing filter that was defined in Version 4, select Filter > Layer Filter...:

The Layer Filter dialog box appears:
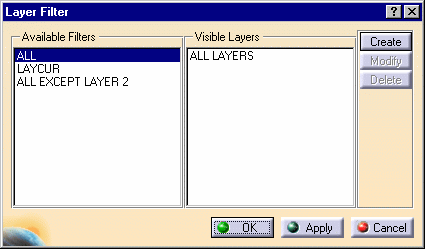
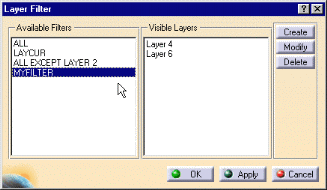
The first two filters in the Available Filters list are always ALL and LAYCUR (current layer).
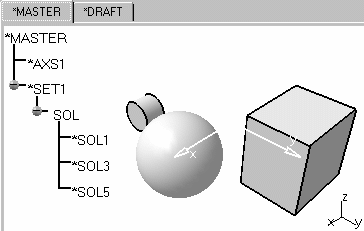
If you select ALL in the Available Filters list and click the OK or Apply button, the cube object, on which Layer2 is applied, becomes visible because its geometry was assigned to Layer2. ALL takes into account all the layers on which the objects are located.
To apply an existing filter, select the filter ALL EXCEPT LAYER 2 in the Available Filters list and click OK or Apply:
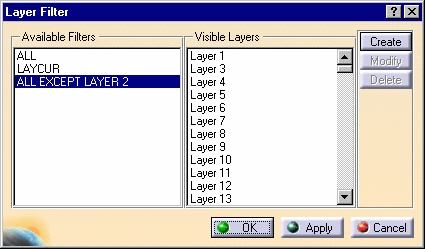
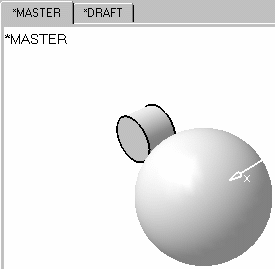
In the Layer Filter dialog box, click Apply if you have other operations to perform. If not, click OK. The model looks like this:
To create a new filter, select Create in the Layer Filter dialog box. The Create Filter dialog box appears:
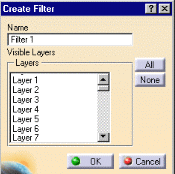
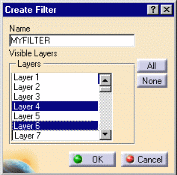
In the Create Filter dialog box, select one or more of the layers in the list displayed. If you want to give the new filter a name, you can enter it in the Name field:
Click OK. The filter created is added to the Available Filters list in the Layer Filter dialog box:
Important: If you create (or obtain) or modify a filter that already exists in the filter list, the filter cannot be created or modified and a Warning appears telling you that: "This filter already appears in the existing list". In the Layer Filter dialog box, click Apply if you have other operations to perform. If not, click OK.
To modify a filter, select a filter that you have created in the Layer Filter dialog box.
Click Modify. The Modify Filter dialog box appears:
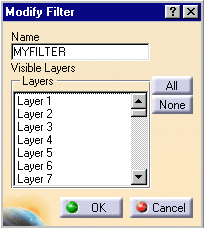
Make the changes. You may wish to change the name of the filter(s) and / or modify the filter selection.
Important: Bear in mind that you cannot modify filters defined in CATIA Version 4 (Modify is dimmed). Only those filters defined in CATIA Version 6 using Create can be modified. Click OK.
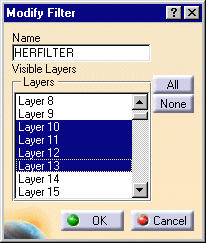
The modified filter is added to the Available Filters list in the Layer Filter dialog box.
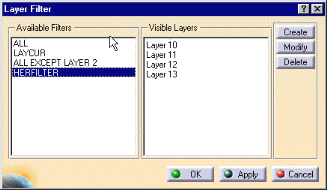
In the Layer Filter dialog box, click Apply if you have other operations to perform. If not, click OK.
To delete a filter, select one or more filters in the Layer Filter dialog box.
Click Delete.
Important: Bear in mind that you cannot delete filters defined in CATIA Version 4 (Delete is dimmed). Only those filters defined in CATIA Version 6 using Create can be deleted. In the Layer Filter dialog box, clickApply if you have other operations to perform. If not, click OK.
If you copy / paste special using the CATIA_RESULT or CATIA_SPEC option this model containing layer filters into a 3D Shape, in both cases the layers' numbers and the Filters are transferred into CATIA V6. Then, you have the possibility to create additional filters in CATIA V6.