Integrating Logical Data with Physical Data | |||
| |||
Select Tools > Logical to Physical
 .
.
The Logical to Physical Synchronization Manager dialog box appears.
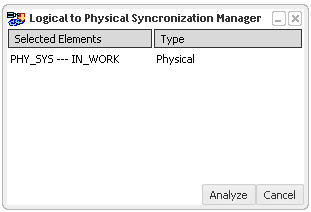
Select the logical or physical elements to be synchronized.
The selected elements are highlighted. In the Selected Elements list, all the selected elements are displayed with their Type (either Logical or Physical).
Note:
- You can deselect the selected element by clicking it once again or right-click the element and select Remove.
- You can sort the elements by clicking the Selected Elements list or Type list.
Click Analyze.
The selected elements are analyzed. An analysis progress bar helps to view the analysing status of elements and connections.The dialog box appears.
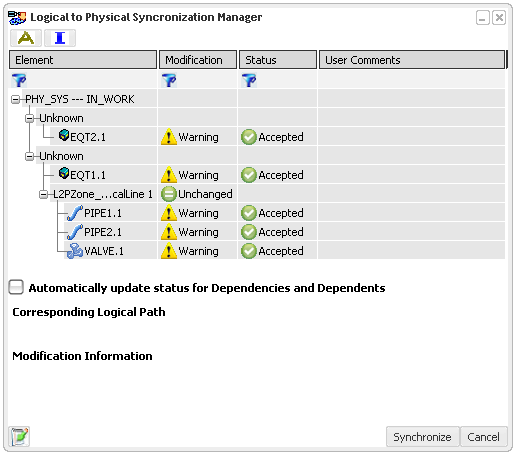
For more information about Modification list and Status list, see More About Logical to Physical Integration.
You can generate an analysis report in the form of an HTML file in the synchronization report repository by clicking the Generate Report. For more information about the HTML report, see About the HTML Report.
Click Synchronize to synchronize the selected elements.
The selected elements are synchronized.
You can generate synchronization report in the form of an HTML file in the synchronization report repository by clicking the Generate Report button. For more information about the HTML report, see About the HTML Report.
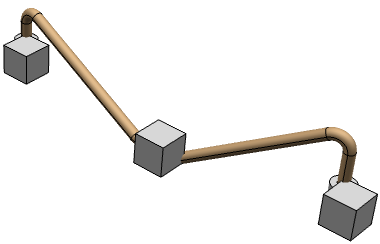
In the 3D view, the predefined parts are instantiated from the database.