Creating a Machinable Feature Locally | ||||
|
| |||
Select Local Feature Recognition
 in the Axial Machining Operations toolbar
Go to the Basic tab:
- Click the Faces to Process:
No selection field, then in the authoring window locally
select one of the contour faces of the complex step.
- A feature can be recognized by selecting either the bottom face or one or more contour faces.
- To deselect a selected face, reselect it. To deselect all selected faces, click Remove All.

- Click the Faces to Process:
No selection field, then in the authoring window locally
select one of the contour faces of the complex step.
Go to the Advanced tab to specify parameters for specific processing.
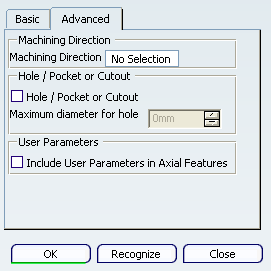
Click Recognize.
An information box appears giving the following information about the recognized feature:
The created feature appears in the Manufacturing View.