Instantiating Power Copies Using Part Comparison Instantiation | |||||
|
| ||||
From the reference document, click Instantiate From Selection
 or select Insert > Instantiate From Selection... from the menu
bar.
or select Insert > Instantiate From Selection... from the menu
bar.Select the Part comparison instantiation mode.
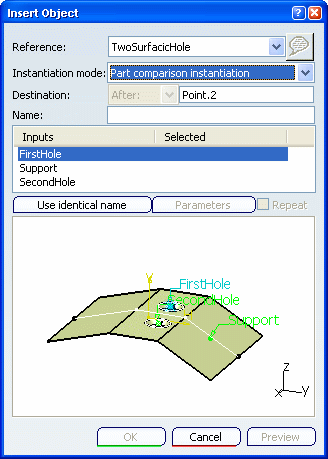
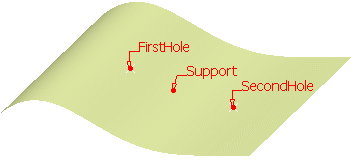
Complete the Inputs within the dialog box by selecting the adequate element in the geometric area.
After each selection, an indicator is displayed in the left viewer, with orientation when necessary. Click on the green arrow to reverse orientation if needed.

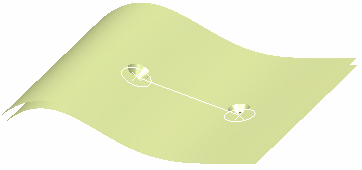
Click OK to create the Power Copy instance.
A PowerCopy Instances node is automatically created in the specification tree of the current document. The Comparison Window opens on the right side of the screen and the Scan and Synchronization toolbars are launched.


Note that:
- All the inputs must have been provided before launching the instantiation. Otherwise, the OK button is grayed out.
- Instantiated features are not updated to let you update them one by one and check the consistency of the result.
- The current feature is not yet synchronized at this step. It allows you to see the result of the Power Copy on the right side.
- A new PowerCopy Instances node has been created in current document. This node allows the mapping between referenced objects and instantiated objects.
When editing a feature in the Comparison Window, the edited feature is highlighted simultaneously on both left and right sides of the screen, in specification trees and 3D areas.
Click First
 or First to update
 .
.The Scan command is automatically launched.
Then click Next
 or Play update
 to scan the instantiated features and update them.
All the inputs of TwoSurfacicHole are valuated.Warning: Only the Structure mode is available here. 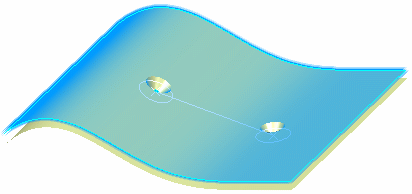
Close the Comparison window.
Tips: - If you launch the
Quick Select
command
 ,
either in the left or in the right window, the visualization is
updated in both windows: pre-highlighting is synchronous and a
color code indicates the current selection (green labels) in the
Quick Select dialog box and the parents/children (red labels).
,
either in the left or in the right window, the visualization is
updated in both windows: pre-highlighting is synchronous and a
color code indicates the current selection (green labels) in the
Quick Select dialog box and the parents/children (red labels). - Once the Power Copy has been instantiated, you can close the comparison window and delete the Power Copy Instance features.
Important: The feature defined as the current object corresponds to the last instantiated component of the Power Copy. - If you launch the
Quick Select
command
