From the product containing the part to machine: - Select .
A PPR context with an empty Machining Cell is created. An empty Activities Process Tree opens automatically.
- Create a generic machine or assign a machine from the database.
As soon as a machine is assigned to the Machining Cell, a Part Operation and a Manufacturing Program are created in the Activities Process Tree.
- Alternatively, open an existing Machining Process or PPR context .
 By default,
the
Activities Process Tree opens
automatically.
Click  Utilities.
 Click Creates a stock by offset
 in the Geometry Creation sub- toolbar. in the Geometry Creation sub- toolbar.
The Stock by Offset dialog box is displayed:
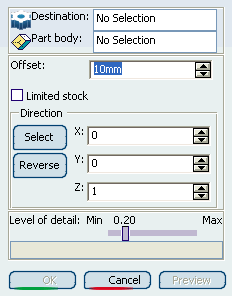
Select the
Destination, i.e. the representation in which the result
can be stored.
Select the Part body, i.e. the part on which the offset is
computed.
Key-in the value of the Offset.
Decide whether you want to limit the stock:
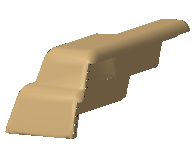
Original part:
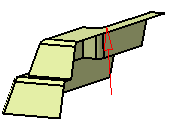
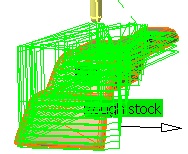
- With Limited stock not selected:
- The stock looks like this:
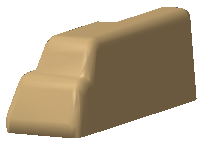
- generating too many passes:
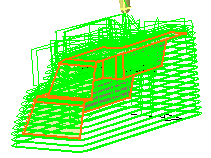
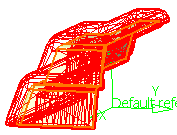
- With Limited stock selected:
- The stock is limited:
- generating only the required passes:
Enter an offset direction:
- Enter its coordinates or
- Click Select and select a line to take its orientation, or a plane to take its normal, or
- Click Reverse to reverse a given direction.
The direction is displayed as a red arrow.
Set: - the Level of detail, i.e. the accuracy level of the computed rough stock. The higher the value,
the higher the precision (but also the higher data size).
- the Number of points, i.e. the number of points of the computed rough stock displayed for information.
Click Preview to visualize the result
then OK to validate and create the offset.
An element OffsetPolygon.X is created in the specification tree.

|
