Importing NC Data | ||||||
|
| |||||
From any product:
- Alternatively, open an existing Machining Process or PPR context .
 By default,
the
Activities Process Tree opens
automatically.
By default,
the
Activities Process Tree opens
automatically.
- Alternatively, open an existing Machining Process or PPR context .
Click
 Utilities.
-
Click Import APT, Clfile, or NC
code
 in the Utilities toolbar.
- If you select the Manufacturing Program, the file is imported at the start of theManufacturing Program.
- If you select a Machining Operation, the file is imported just after this Machining Operation.
- If no activity is selected, the file is imported at the end of the last selected Manufacturing Program.
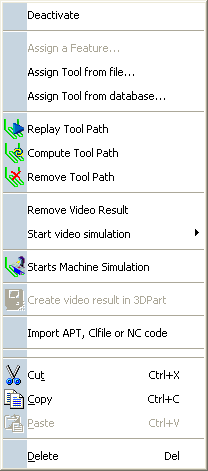
- or right-click an activity in the Activities Process Tree and select Import APT, Clfile, or NC
code in the contextual menu.
- If you select the Manufacturing Program, the file is imported at the start of the Manufacturing Program.
- If you select a Machining Operation, the file is imported just after this Machining Operation.
The NC File Import dialog box appears
-
Click Import APT, Clfile, or NC
code
In the NC data type list, select APT then click Input File.
The Select NC data file dialog box appears.
Navigate to the desired APT file and click Open.
The NC File Import dialog box is updated with the selected input file.
Click OK to import this file in the Manufacturing Program.
The Manufacturing Program is updated with the machining information of the imported file.
- NC data objects appear in the Manufacturing Program for each Tool Change in the imported file.
- A tool path is associated to each computed APT Import entity.
- All necessary PP instructions are added to the Manufacturing Program.
Typical content is shown below:
- Post-Processor Instruction.1:
$$ ---------------------------------------------------
$$ Generated on Tuesday, March 07, 2006 3:56:16 PM
$$ CATIA APT VERSION 1.0
$$ ---------------------------------------------------
$$ Manufacturing Program.1
$$ Part Operation.1
- Post-Processor Instruction.2:
PARTNO PART TO BE MACHINED
COOLNT/ON
CUTCOM/OFF
- Post-Processor Instruction.3:
$$ Start generation of : Tool Change.1
- Post-Processor Instruction.4:
TOOLNO/1, 10.000000
TPRINT/T1 End Mill D 10
LOADTL/1
$$ End of generation of : Tool Change.1
- Post-Processor Instruction.1:
- All tools referenced in the imported NC file appear in the Resources List.
Right-click an APT Import entity in the Activities Process Tree to access a contextual menu to replay the APT source.
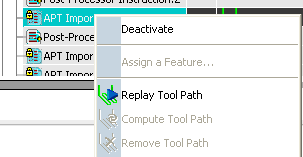
The machining time displayed after replaying an imported APT source may not be the exact value. This is because there is no distinction between machining and transition feedrates in the APT source.
For an imported APT source, machining time is computed by taking the smallest feedrate value as machining feedrate and bigger feedrate values as transition feedrates. If this is the case for the APT source under consideration, the machining time can be correct.
Right-click a Tool Change resulting from the import to replace the associated tool.

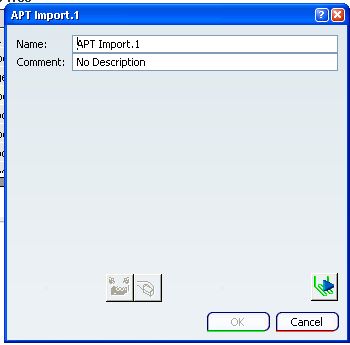
Double-click an APT Import entity in the Activities Process Tree to rename or assign a comment to the APT source file in the dialog box that appears.