Light Printing | ||
| ||
Choose the Printer
You can choose the printer, specify rotation parameters, page fitting, scale and margins
In the PLM Access menubar, select Print.
The Print dialog box appears.
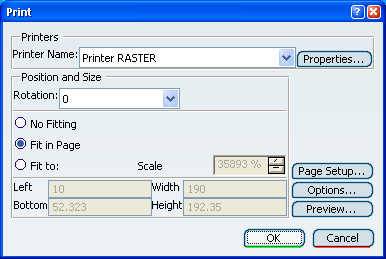
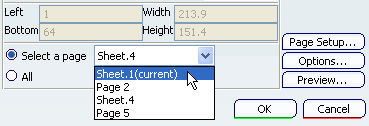
If you chose the Fit To option, in the Scale field, enter the desired percentage of the page and enter the desired offsets: Left, Bottom, Width, Height.
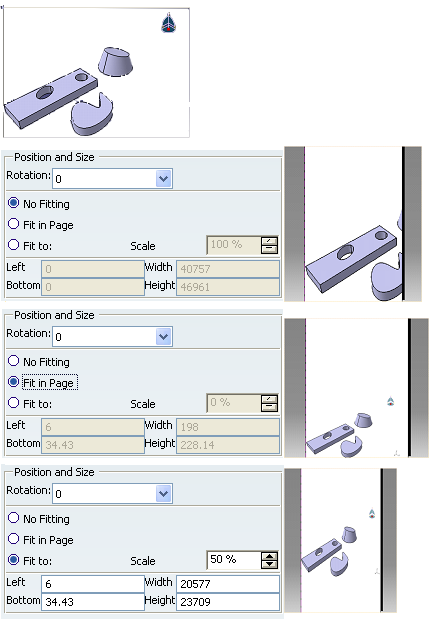
Examples:
- With the No Fitting option, the scale is 100% and the Left and Bottom figures are zero. Thus the image of the viewer is not scaled and keeps its size defined by the viewer zoom level. The image is position in the page at its bottom left.
- With the Fit To option, you control the scale and positioning of the viewer image.
- With the Fit in Page option, the image is scaled and positioned to fit at the center of the page.
![]()
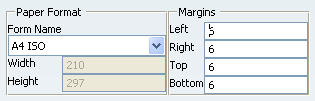
Modify Page Setup
You can modify page setup characteristics such as page format and margins.
To modify the page setup, click Page Setup.
The Page Setup dialog box appears.
![]()
Modify Print Options
You can modify print options such as page color, rendering quality and banner presentation.
To modify the print options, click Options.
The Options dialog box appears.
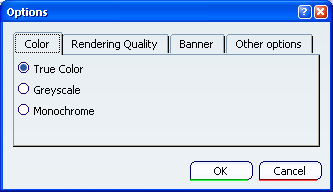
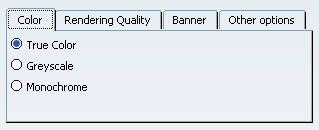
To modify the color options, click Color.
The Color tab page appears.
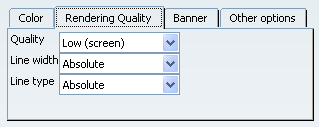
To modify the rendering options, click Rendering Quality.
The Rendering Quality tab page appears.
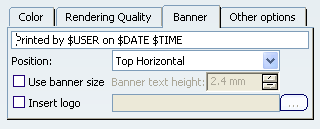
To modify the banner options, click Banner.
The Banner tab page appears.
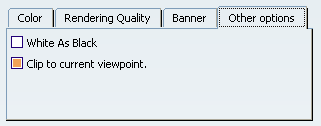
To modify the other options, click the Other Options tab.
The Other Options tab page appears.
![]()
Select a Page (Multi-Sheet Documents only)
For multi-sheet documents, you can select the specific page you want to print.
Select one of the proposed pages or click All to print all of the available pages.
![]()
Preview
After you've set the different print parameters, you can preview the page as it will be printed.
To preview the page to be printed, click Preview.
The Print Preview dialog box appears.
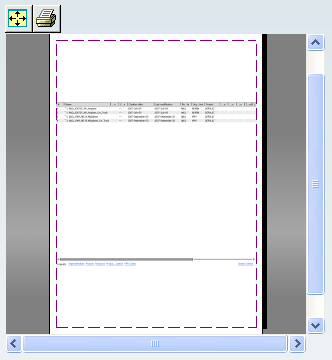
To reframe the image, click Fit All In
 .
.To print the image, click the Print
 .
.
Note: Modifications to the image that you make in the preview page will not be taken into account.
![]()
Modify Printer Properties
You can modify printer properties such as file format, dots per inch and compression.
To modify printer properties, click Properties.
The Printer Properties dialog box appears.

To select a driver for your printer, in the Driver list, select a driver.
The list will vary according to your operating system, please see your system administrator to define which printers require which drivers.

To access advanced printer options, click Advanced Configuration.
The Advanced Configuration dialog box appears.
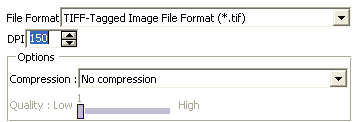
- To modify the file format, in the File Format list, select a format.
- To modify the dots per inch setting, in the DPI field, enter a value or use the spinner to modify the value.
- To modify the compression setting, in the Compression list, select a setting.
- To modify the quality level of the print, adjust the Quality slider accordingly.
- Click OK to validate (or Cancel to discard changes).
To change the Paper Format, select the desired values from the Default and Maximum lists.

To modify the document margins, click Default Margins.
The Default Margins dialog box appears.
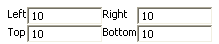
Click OK to validate (or Cancel to discard changes).
Submission Scripts enable you to specify:
output file name: each time you print a document, an output file is created at the location you specify in the text field default queue name: this field lets you choose which print queue to send the print job to.
The Custom options let you specify the location of your own submission scripts. Clicking these buttons activates the Edit Script... action buttons to let you modify the script in the Runtime Script window.
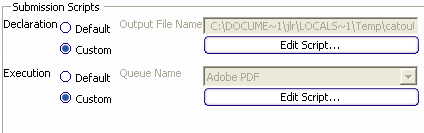
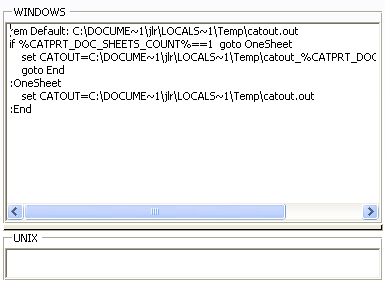
To specify the Output File Name via a script, select Declaration Custom and click Edit Script....
The Runtime Script dialog box appears.
- enter the script in the dialog box (see your system administrator for script specifications)
- click OK to validate
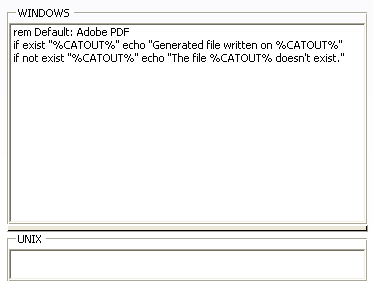
To specify the Output File Name via a script, select Declaration Custom and click Edit Script....
The Submission Script dialog box appears.
- enter the script in the dialog box (see your system administrator for script specifications)
- click OK to validate

![]()
Launch the Print
When you are satisfied with your choice of all print options, you can launch the print.
- To print the document with the defined settings, in the
Print dialog box, click OK.
Please note the following considerations:
- If a document is in vectorial format, the print will be in vectorial mode; if a document is in raster format, the print will be in raster mode
- The printed page will be that which you see in your viewer (there is no notion of "print whole document")
- CGM printers are not supported
- HPGL printers are not supported
- The option White vector as Black is not supported