Measure Between Items
You can measure the distance between two items.
Click Measure Between  in the Measure toolbar.
The Measure Between dialog box is displayed.
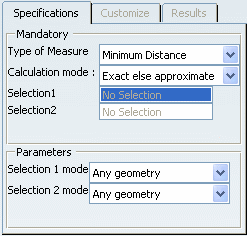
In the Mandatory area, select an option from the Type of Measure and the Calculation mode drop-down lists. In the Parameters area, define a Selection mode for both elements.
By default, the Any geometry mode is selected. Select two items from the sheet or
view.
Their description appear in the Selection 1 and Selection 2 fields. Open the Results tab.
It displays
information about the selected items.
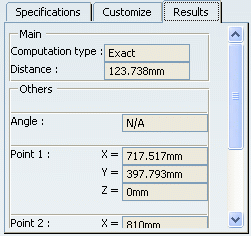
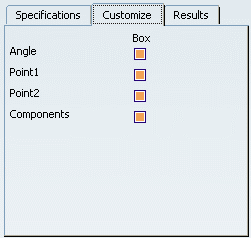
To modify the display of the Results tab,
click the Customize tab and clear the unwanted options.
 Click Close when done.

Measure Items
You can measure the items.
Click
Measure Item
 in the Measure toolbar.
The Measure Item dialog box is displayed.
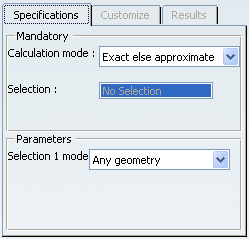
In the Calculation mode field, select a
mode. In the Parameters area, choose a
Selection mode from the drop-down list:
Select an item from the sheet, view or layout. Its description appears in the
Selection field.
Note:
You can multi-select items of
the same selection mode.
The Selection field indicates the number of selected items.
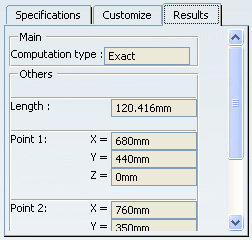
Click the Results tab.
It displays information about the selected item, or the addition of
data for all selected items.
If needed, select or clear items.
The Results tab is automatically updated.
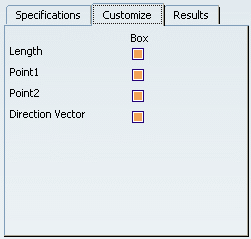
To modify the display of the Results tab,
click the Customize tab clear the unwanted options.
Click Close when done.
|