Creating Arrows

You can create arrows in your drawings, to emphasize or illustrate a specific point for example.

In this example, an arrow is used to illustrate the kind of hole that should be applied to a circle.

Related Topics
More About Creating Arrows
  1. Select Insert > Dress Up > Arrow.

  2. Click a point or select an object to define the arrow starting point (the tail).

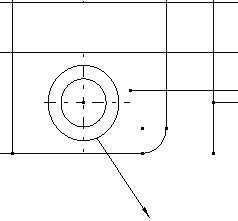
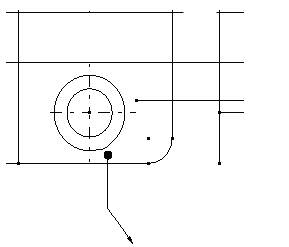
  3. Click another point or select another object to define the arrow extremity (the head).

    The arrow is created.


  4. To add a breakpoint, select the arrow and right-click a yellow manipulator.

    A contextual menu appears.

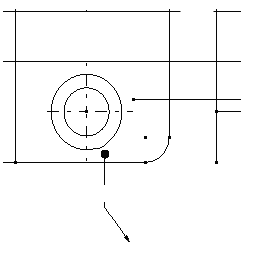
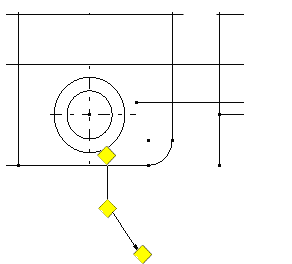
  5. Select Add a Breakpoint.

    A breakpoint is added to the arrow. You can drag it to change the arrow path.


  6. To choose a symbol for the arrow tail, right-click the yellow tail manipulator.

  7. In the contextual menu, select Symbol Shape and a symbol.

    The symbol you choose now appears on the arrow tail. You can also change the symbol used for the arrow head by repeating steps 6 and 7.


  8. To create an interruption on the arrow tail, right-click the yellow tail manipulator again.

    A contextual menu appears.

  9. Select Add an Interruption.

    An interruption is added to the arrow.